If you’ve received a file from a customer as a bitmap image, or if you’ve scanned an image from a print document that you want to engrave, you’ll need to vectorize it in your software before engraving. Here’s a step-by-step tutorial on how to vectorize an image in Vision Pro 8 software.
Note: You must have the full version of Vision Pro to use the Accuscan Vectorizing tool. Also, for this process we will assume that you are starting with a bitmap that a customer has provided or you have a bitmap from a scanned business card, letterhead, or other print media.
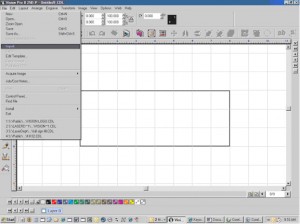
1. Open Vision Pro and Import the Bitmap you want to work with.
* Select Import from the file menu.
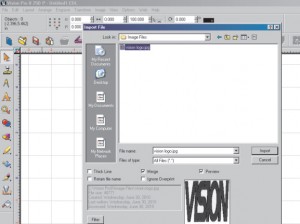
* Select the Bitmap and click on Import.
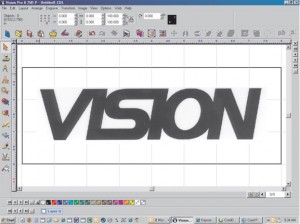
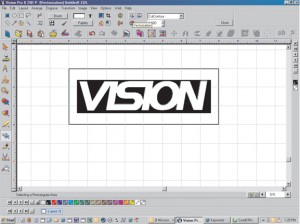
* The Bitmap is now in Vision Pro.
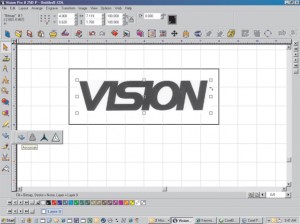
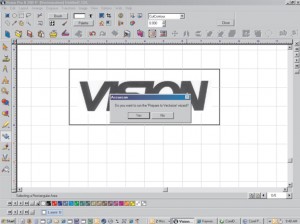
2. Use the “Prepare to Vectorize” wizard to modify the Bitmap for the best result. Make sure the Bitmap is selected and click on the Accuscan tool from the Toolbar.
* Click on the Posterize Region button at the top to bring up the “Prepare to Vectorize” option (Click “Yes”).
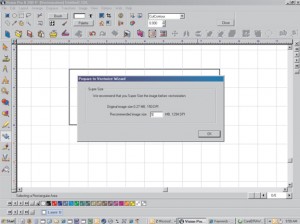
* Modify the image size to the desired quality and click “OK”. A bigger image will be higher quality, but will take much more time to filter. In this example, we used 5MB for this logo.
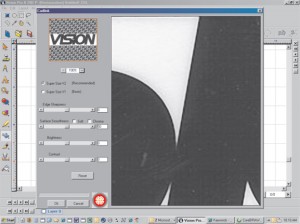
* Use the default settings and click on “OK”. If you are not happy with the result, you can undo, come back and make adjustments to change the result.
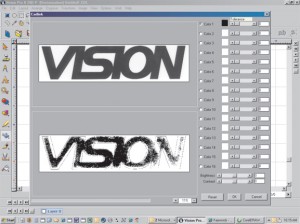
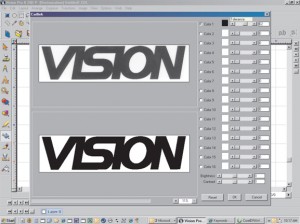
* Adjust the tolerance sliders until the bottom image matches the top image. (In this case we just had to adjust color 1(Black) to a higher setting of 62). Then push “OK”.
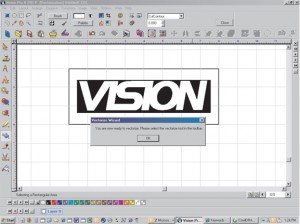
4. Vectorize the Bitmap. Now you have a vector graphic you can engrave.
* Click “OK”.
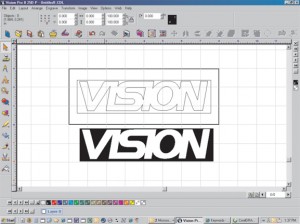
* Click the vectorization button. You will now have your original Bitmap on top, and a vector graphic below.
* Move the Bitmap down to see the vector. If you’re happy with the result, discard the Bitmap. If not, do the whole process over again and make adjustments. The vector graphic can now be cleaned up and used in your job.

