The ability to rotate an object in Vision Engraving Software can be a very useful tool. Most people use it when designing, but also when laying out the cut file or multiple cut files onto the material. Correctly laying out your project can minimize waste as well as save you time when running a job. Read below to learn how to rotate an object in Vision Engraving Software.
The ability to rotate an object either by a specific angle or in 90-degree increments is in the top toolbar, just below the menu toolbar.

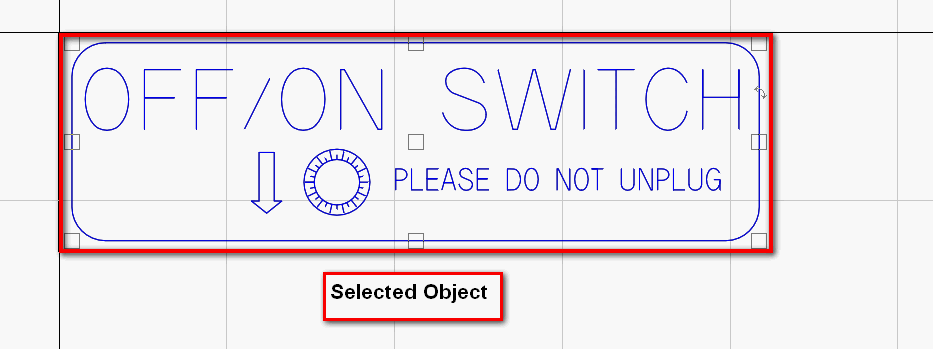
- First, select the object you want to rotate. You can rotate at any angle. The adjustment can be decreased or increased by typing in the text box.

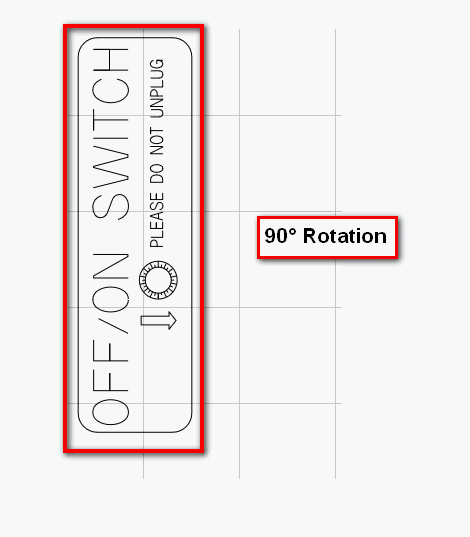
2. By clicking either the up or down arrow, it will rotate 90° either direction.

3. This is an example of a Negative rotation (-90 degrees) using the down arrow, as it would be rotated to the right if it were a 90-degree rotation using the up arrow.

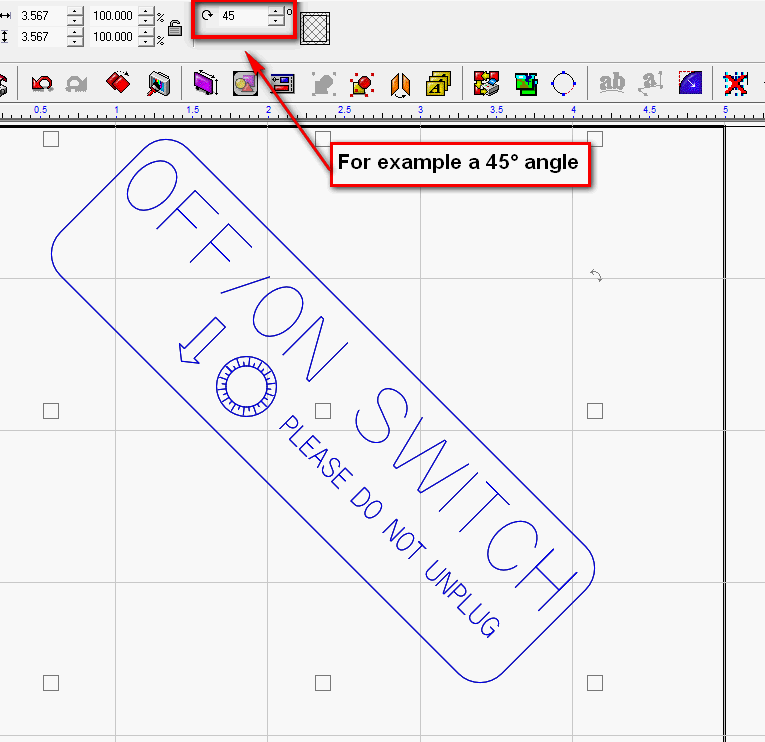
4. Here is an example of an object rotated at a 45° angle.

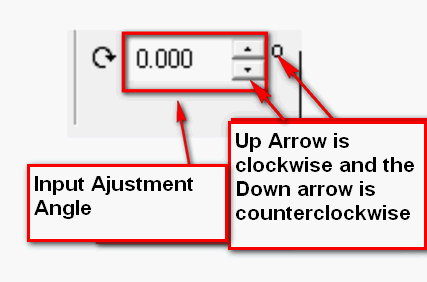
5. You can also input a specific rotation angle and make fine adjustments.

Check back next month for more Engraving or CNC Routing Quick Tips. Contact Vision Engraving & Routing Systems to learn more about how to rotate an object or to request a free online engraving demo. Contact Vision Engraving & Routing Systems today go to www.visionengravers.com or call 1-888-637-1737. Be sure to check out our All Post List, lots of helpful Engraving Machines and CNC Routing info there.
