
Customers often bring in a printed logo or image that they would like to have engraved. Once scanned, these raster images can easily be imported into Vision Express 9 and converted into vector artwork. Vision engravers are vector based, and require vector lines in order to follow a path for engraving.
Vector conversion is extremely simple to achieve in Vision Express 9 (and Vision Expert 9 & PRO 9). Vector outlines are automatically created as the bitmap is imported in the drawing.
Compatible File Types: Imported images MUST be in a black and white or color .bmp format in order for the software to quickly create a vector outline. When scanning your image into the computer, be sure to scan at a minimum of 300 dpi then save as a .bmp file format. Images with a resolution lower than 300 dpi may not allow the software to create a high quality outline.
Follow the steps below to learn how to easily convert your images to Vector graphics and use the different types of Hatch Fills in Vision Express 9 software. Please note that the process will be different if you are using Vision software prior to version 9.
How to Vectorize a Bitmap:
- Open the Vision Express 9 software and create a new file in the desired plate size. Then select File > Import from the top toolbar menu.
- Using the drop down menu for Files of Type, select Vectorize bmp (*.bmp), then choose the file and select Import. NOTE: There is a sample file below called Flower.bmp in the Vision jobs folder inside the Vision Express 9 folder on your computer.
- The next screen has only one adjustment – Alignment Bitmap Density. There is a slider to darken or lighten the image to show more or less detail. Select OK and the bitmap will be automatically converted to a vector outline for engraving.

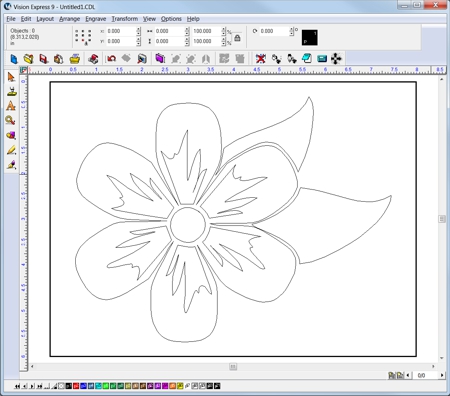
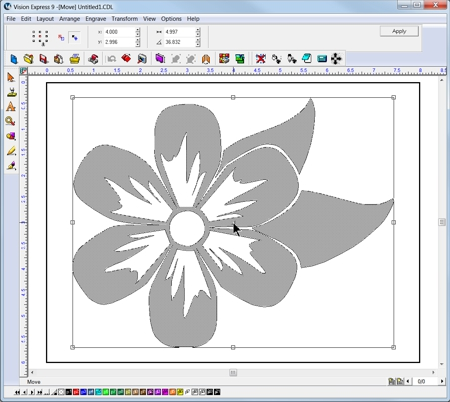
- The final image is shown below after being imported and converted to a vector outline. It is ready to cut or engrave.
Vector (Hatch) Fills:
When an outline of an object needs to have the interior, or sections of the interior engraved, the Hatch Fill tool is used. For example, if a simple circle is drawn in the Vision Express 9 software, but you wish to engrave the entire circle, not just the outline a hatch fill is used to create a vector fill path for the engraver to follow.
How to Fill a Simple Object:
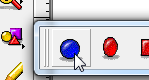
- After creating a new file in the Vision Express 9 software, draw a circle using the Circle tool from the Shape Tools fly out menu.
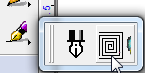
- With the circle selected, choose the Hatch Fill icon from the Stroke and Fill Tools fly out menu.
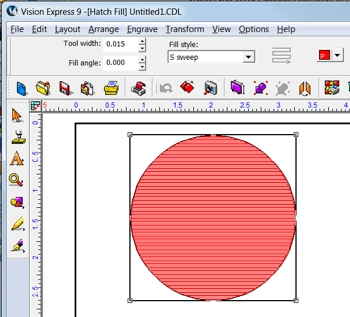
- The circle will be vector filled with the default settings. When selecting Tool Width, it is recommended to have 20-25% overlap on each stroke. The cutter tip size is used as the Tool Width. More overlap creates a smoother background engraving, but requires more time. Less overlap will be faster, but the background may become rough. You can experiment with different fill angle and fill styles to determine what looks best for your job.
- Once the Hatch Fill has been adjusted, select Close from the toolbar menu. The image is ready to be sent to the engraver.
How to Fill Outline Text:
- Select your text with the Select Tools icon. NOTE: Hatch fills can only be applied to outline text, not single line text.
- Select the Hatch Fill icon.
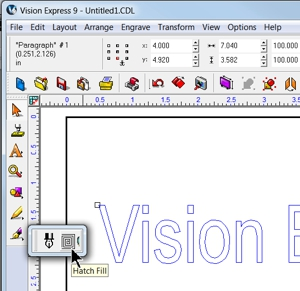
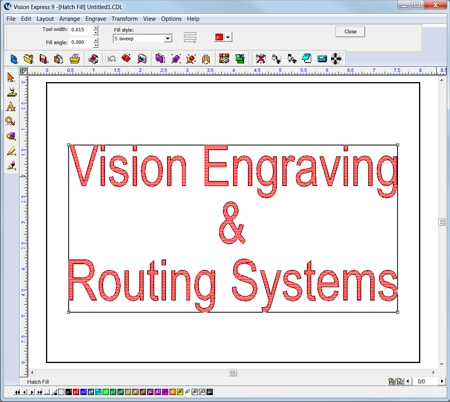
- The default hatch fill will now be applied to the selected outline text. Adjust the tool width, tool angle, and tool style as desired, then select close. The file is now ready to send to the engraver.
How to Fill Complex Items:
Some graphics have portions that do not need to be engraved and are within the boundaries of outside vector outlines.
- Select your complex graphic, then select Break Path from the Arrange menu to separate the individual outlines.
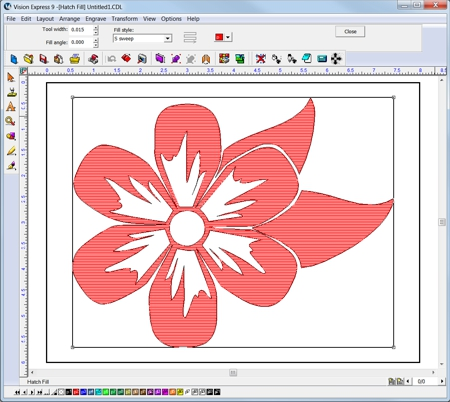
- Vision Express 9 software has an Intelligent Path Tool that will automatically detect portions of the graphic that are within outside vector lines and will create a hatch fill with the center portions left unfilled. Press the F3 button on the computer keyboard to select all items, and then select Make Path from the Arrange.
- With the Make Path tools selected, click and hold the center node of your graphic. The automatic detection will display the areas that can be filled.
- If it looks correct, select the Hatch Fill icon.

- The hatch fill will be applied. Adjust the tool options as desired and select Close from the toolbar menu. The file is ready to be sent to the engraver.
You may request camera ready vector artwork from your customers, but chances are you will receive a raster file the majority of the time. Luckily, Vision Express 9 makes it simple to convert these graphics into engraver-ready vector artwork.
Do you have questions about your Vision Express 9 Software? Post them in the comments and we’ll be happy to answer!