
Using Vision Pro software, any Vision engraving machine can be used to create a QR code in engravers plastic, from the affordable Express machine to the large 4×8. Note- only Vision Pro software has the QR code option.
For this example Vision Pro software will be used along with a Vision 1624 Router. The material used is black engraver’s plastic with a white cap layer.
How to Create a QR Code
Begin by creating the QR code image in Vision software.
First select “Shape Tools” and then click on the “WASP Barcode” option.
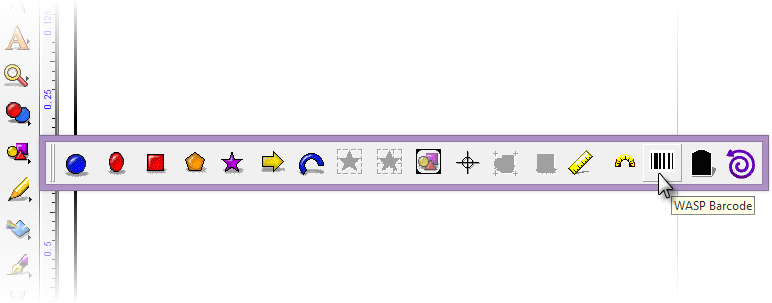
In the WASP Barcode smart bar, (1) in the “Value” field enter data that will be returned when the QR Code is scanned; (2) from the dropdown list select “QRcode,” and (3) click on “Apply.” Note- the narrow bar width and angle can also be adjusted here.
The QR Code has been created.

Next, change the size of the QR code to the desired dimensions. For this example, the size was set to one inch by one inch. QR codes can be created much larger.
How to Engrave a QR Code
Make sure the QR code is selected. Click on the Tool Path Tools icon on the left. Select the Fill tool path tool.
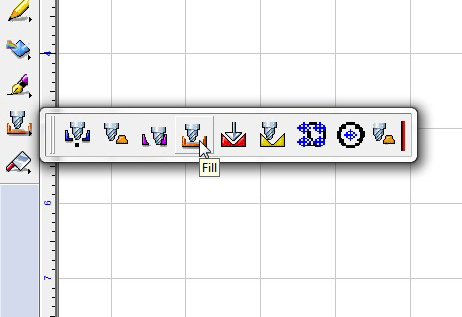
The Fill menu will open.

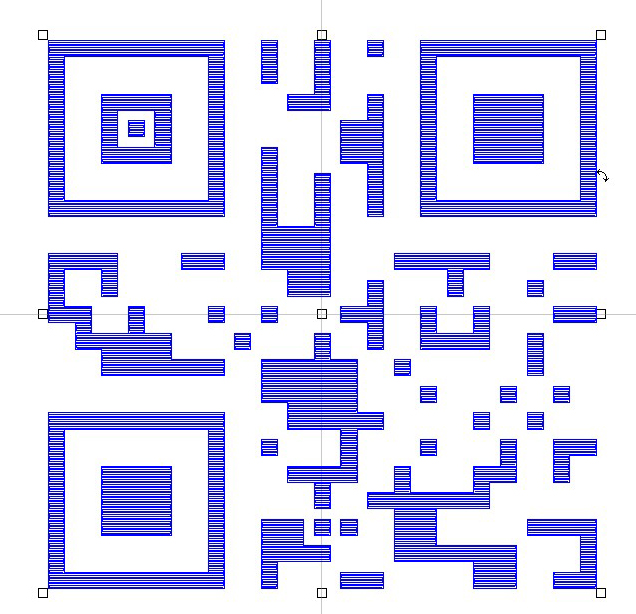
In this example a .005 inch engraver is being used at a depth of 0.012 inches. Choose a color for the fill that is different than the color of the QR code. An S-Sweep fill style is used with a 40 percent overlap to ensure that the tool removes the entire cap layer in the filled area on the engraver’s plastic. Click OK to create the tool path. It may take a couple of minutes. Remember afterwards to delete the original QR code, or move it off the plate. It is only necessary to engrave the tool path.
Once the fill is complete, it is ready to be engraved.
This job took approximately six minutes to engrave.
A cutter beveler was used to cut out and remove the final part.