
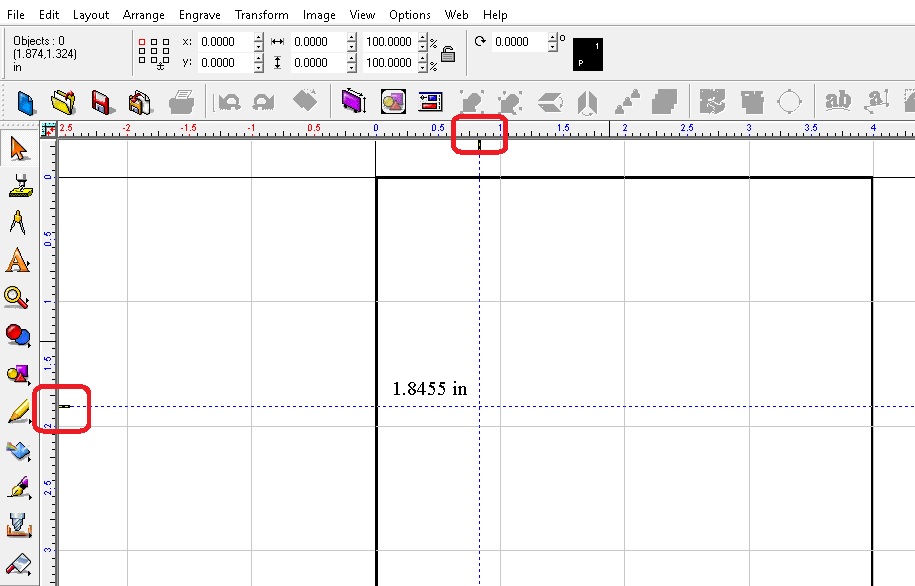
Guide lines can be useful for doing layouts/templates in the software. The guide lines can be dragged around as a straight edge or be put at a set coordinate.
The 2 easiest ways to get guide lines to come up: One is to right click on the ruler (at the top or left edges). Once you have the guide lines, they can be moved around by left click and hold on the guide while dragging the cursor around.
The other way to access the guide lines is to make sure that nothing on the screen is selected and right click anywhere on grid, this will allow you to put the guides at specific measurements on the X and Y axis as well as angles.
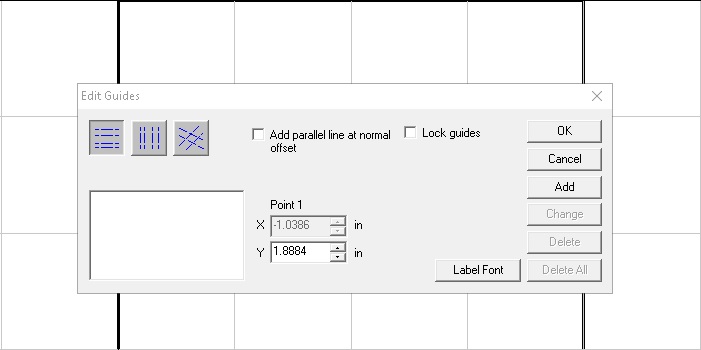
From this point, type in the measurement you want the Y (horizontal), X (vertical), or X and Y for the angle edit guide to be at, click on Add, then Ok when you are done.

You can also change an existing guide line, delete, and even lock the guides into place from the above menu.
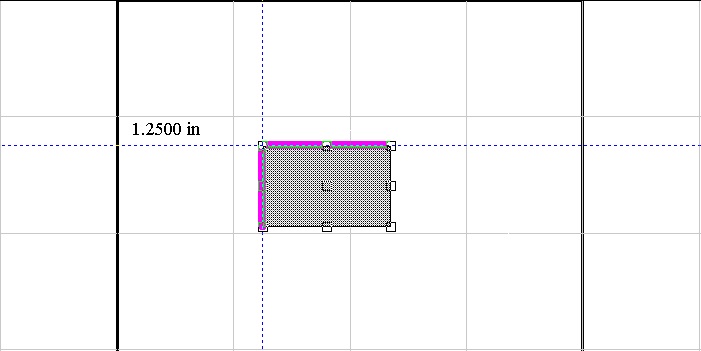
Another thing is that an object will “snap” to the guide lines when in place.
Check back next month for another quick tip and you can always check out the long list of previous quick tips.