
In Frame Text Compose in the Text Tools (icon on the left side) you can set margins to keep the text from going all the way to the edges of the plate. So not only will the Frame Text Margins keep the text in the area you define but if you have 1 line of text that compresses, the other lines in the text box will compress and match the 1 line that did compress.
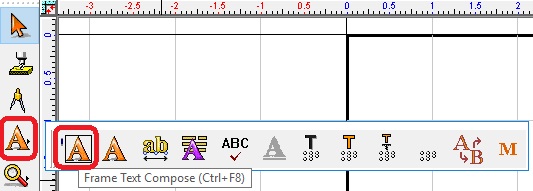
Left click on Text Tools, then Frame Text Compose.
If your Default Text Settings are on Standard, it will look like this:

Select Frame in the text Toolbox window (or if the Text Toolbox window doesn’t pop up, left click on Frame at the top). You can change the Margins to Absolute to input exact measurements for the border or Percentage. If there is a Percentage or Absolute amount you would like to use as a default, input that in the Text Toolbox then left click on the Defaults drop down box and left click on Set as Default and then your borders will come up at that setting every time you use Frame Text Compose. Your settings can always be changed in the Text Toolbar.
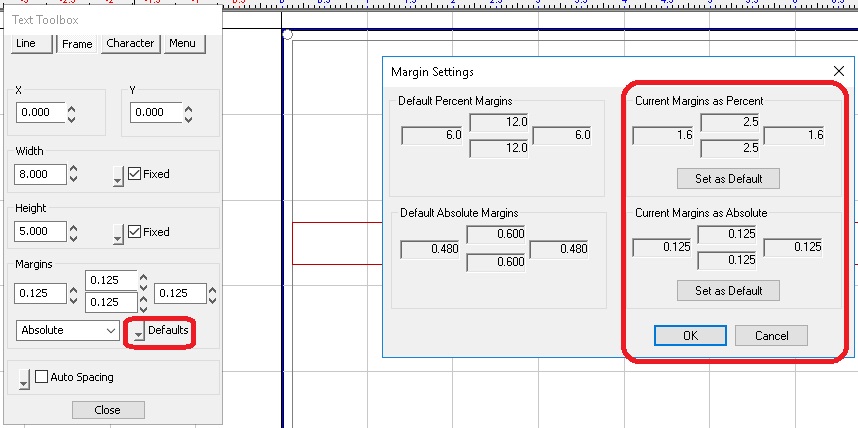
If your Default Text Settings are on Expert, it will look like this:

Just left click on the drop box next to the margins to pick Absolute or Percentage Margins and you can also get to the Default Settings. Make sure you change the margin numbers to what you want for defaults before going to Default Settings.
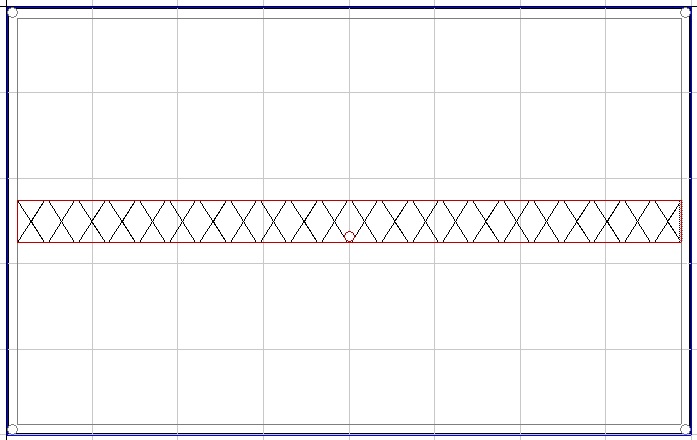
No matter which setting you have in Text Default Setting, you can type your text and it won’t go outside the margins.
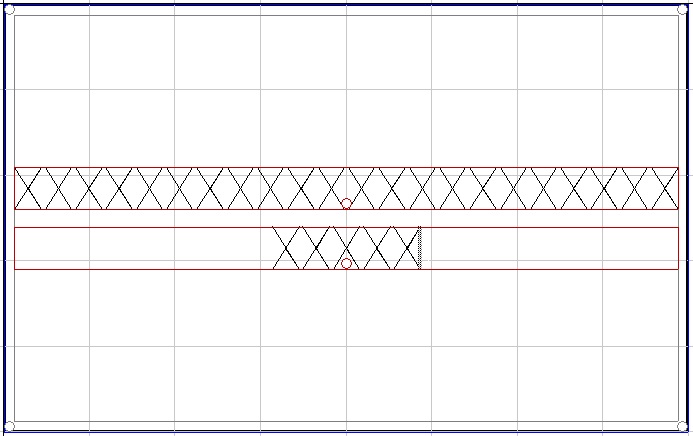
For multiple lines, if 1 line compresses, all lines will compress to match. Pressing Enter will give you another line.
*** To change the Text Default Setting from Standard to Expert, check out the Quick Tip: Vision 10 Frame Text Compose. ***
Check back next month for another Quick Tip.