
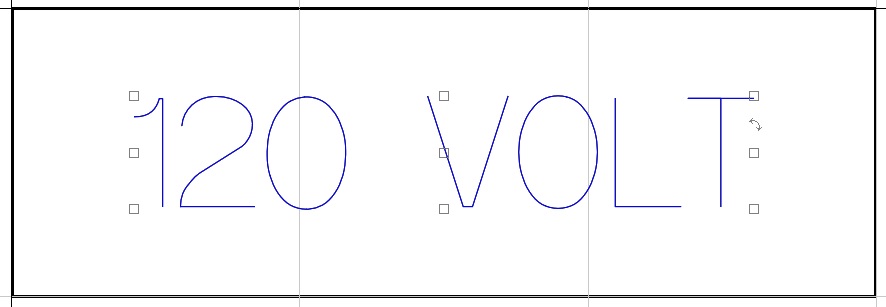
When you are engraving text on an engraving machine, it’s helpful to know when to use a tool path and when not to use a tool path.
When using a rotating cutter, it is good to know what size tool to use before engraving. Adding a tool path in the software will help determine the correct tool to use and give you a visual representation of the tool. It will also ensure that there is no overlap in the engraving from the tool.

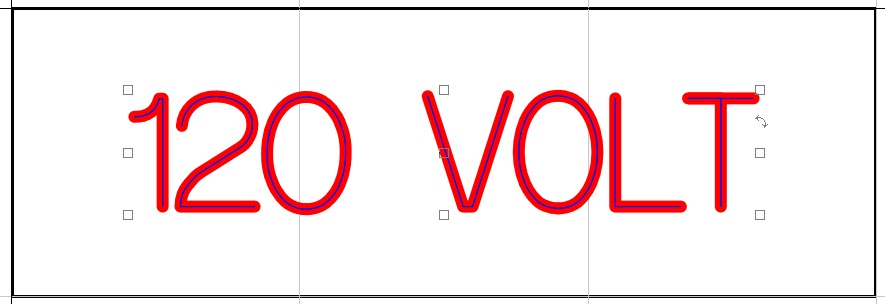
Once you determine the correct tool and kerning (space between the characters), you can delete the tool path. Just select the text and send over to the engraving machine to run.


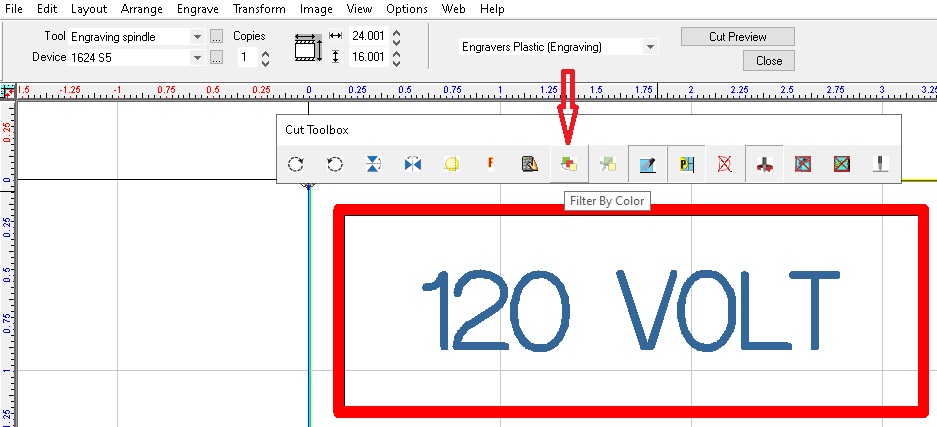
This works for diamond drag as well (as long as you don’t use a fill tool path). If you don’t put a tool path on what you send over to the engraving machine. It will automatically default to an Online Tool Path.
You can leave the tool paths on when you have multiple tools and/or multiple tool paths. This way you can decide what to run with the Filter by Color option on the engraving toolbar (Cut Toolbox).
Hopefully that helps you and the next time you are engraving text. You will know when to use a tool path on an engraving machine.
Check back next month for more Engraving Quick Tips. Contact Vision Engraving & Routing Systems to learn more about the best engraving machines, get a price quote, request a free online demo. Visit us online at www.visionengravers.com or call 1-888-637-1737.