
Many times, users run into situations where a new material needs to be engraved or cut with their Vision Engraver or Router and a new, or different style of cutting tool will be used. In some cases, there are no existing tools inside the Tool Library in Vision software and one needs to be added to represent this new cutting tool.
This Quick Tip describes how create and save a new cutting tool in the Tool Library within the Vision software, so that it can be recalled at a later time.
To access the Tool Library, open your Vision software* and click on Engrave on the top menu bar, then click on Tool Library.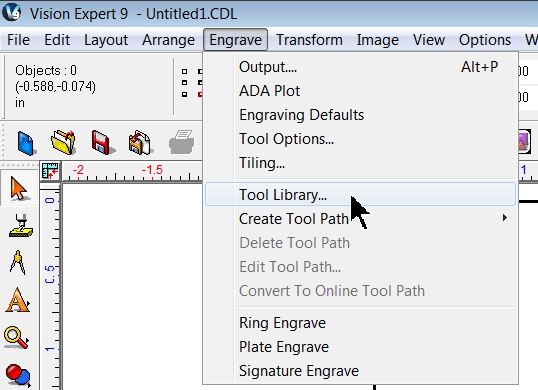
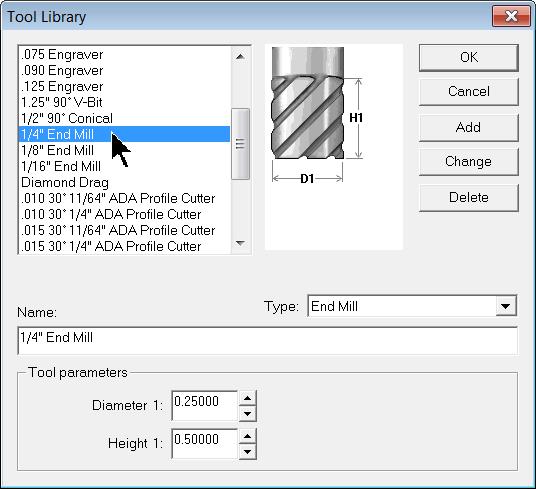
The Tool Library will appear. If the tool you’d like to add to the Library is similar to an existing tool, then choose the most similar tool from the list in the upper left corner of this window, then change the Name and Tool Parameters to those of the new tool.
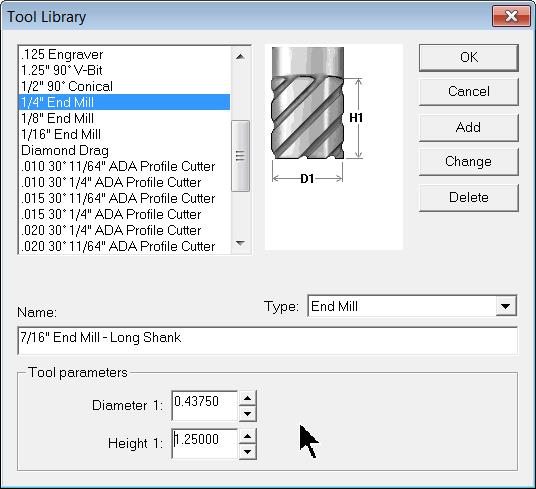
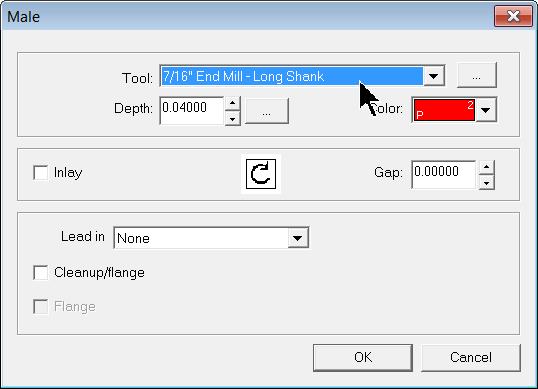
In this example the ¼” End Mill was chosen, then the Name changed to 7/16” End Mill – Long Shank, then the Parameters were changed to Diameter 1: 0.4375 and Height 1: 1.2500.
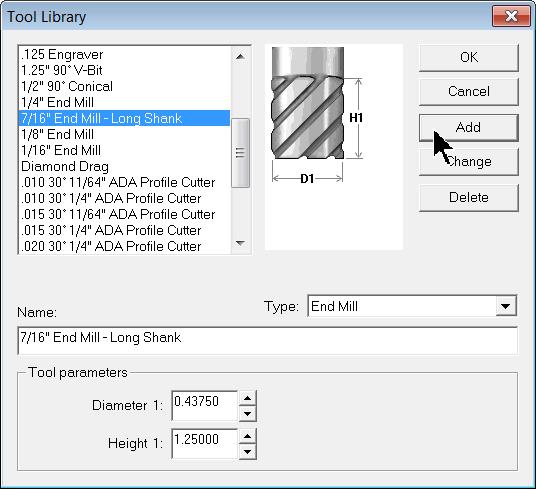
When finished, click on Add to add this new tool to the Library. The new tool will be immediately listed in the tool list. Click OK to close this window.
This new tool will be available to choose in Vision software and the new parameters will be used to properly create fill patterns and tool paths.
*Note – does not apply to the Vision Express package