
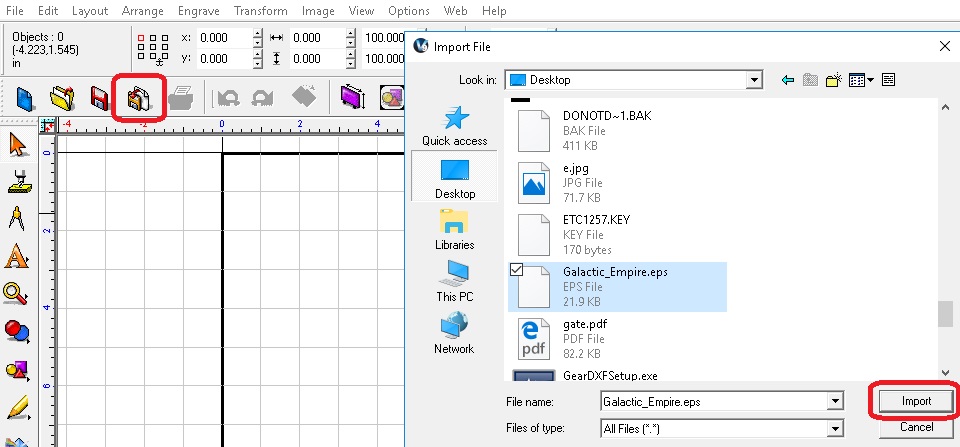
In the Vision software, you can alter the shape of a graphic so as to smooth it out, change it to suit your needs, etc. This can be a vector image that was imported in, clip art that’s in the Vision software, or an image that was imported and then vectorized in the Vision software. ***How to vectorize an image is explained in the Vision 9 Manuals and in another Quick Tip***
or
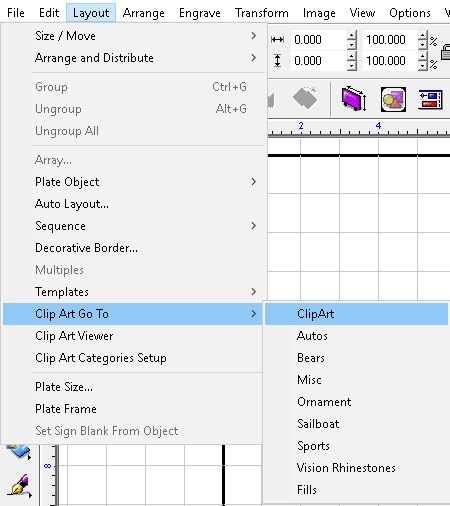
For this example, I’m going to use something from Clip Art.
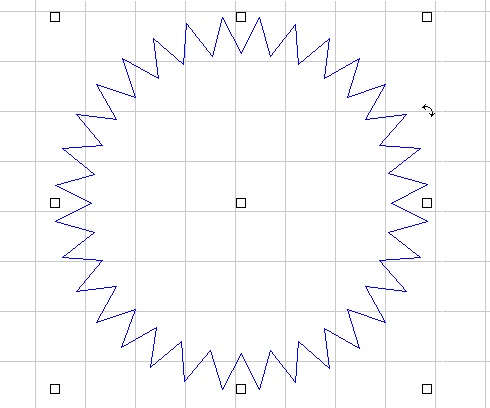
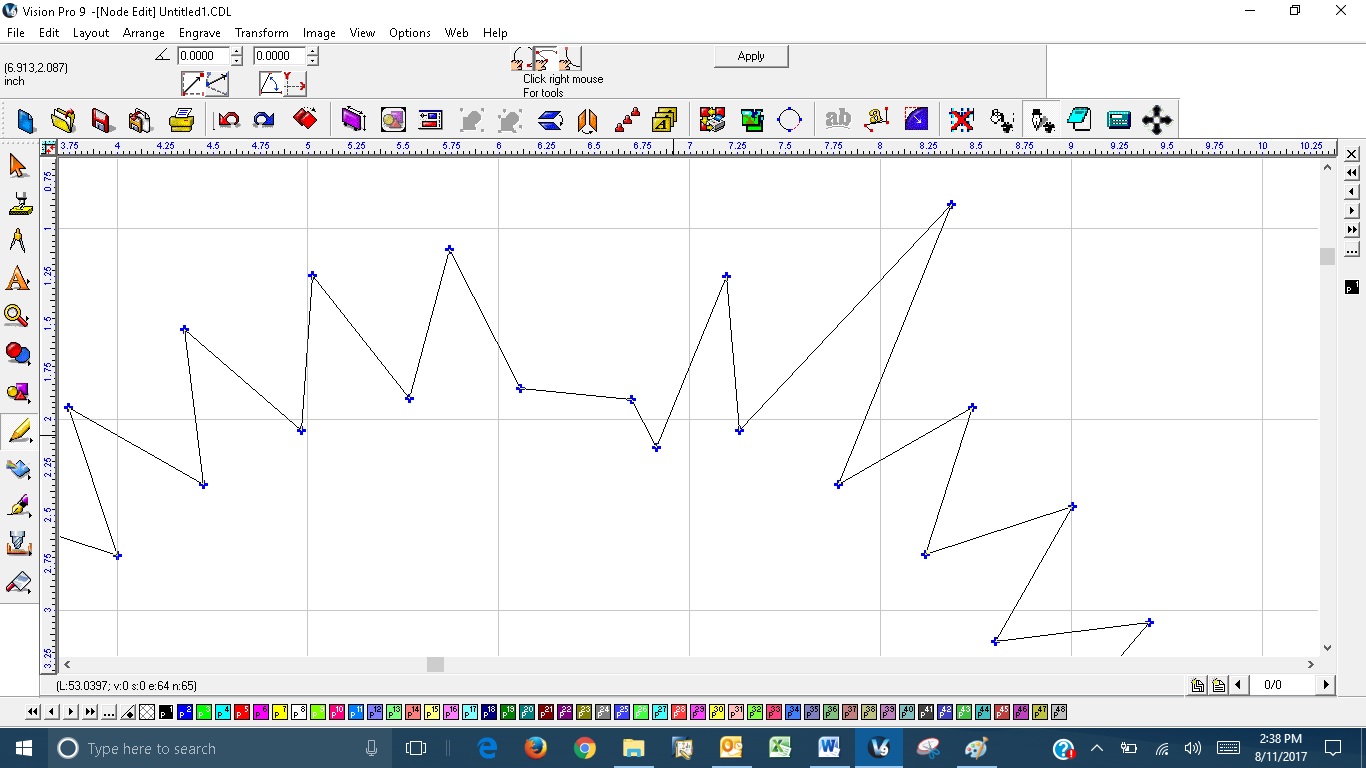
Now that an image has been selected, I can now node edit it by double left clicking on the line of the image. Then left click on a node (which turns it red) and from there you can delete, grab and drag, or use the arrow keys to move the node around.
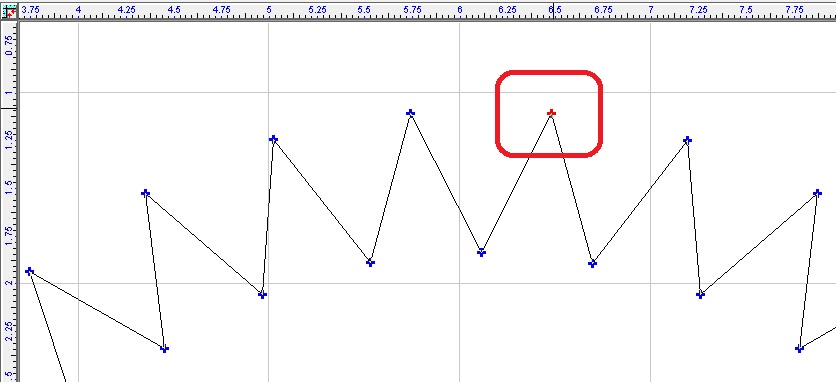

When the cursor is a pencil icon, you can double left click and add nodes.
If there are round nodes and you put the cursor on a line, a hand will appear and you can left click, hold, and drag that segment on the line into an arc.
Part 2 (next month) will explain more tricks about node editing.
Hopefully this helps, be sure to check out our other Quick Tips, lots of info and a new 1 each month.