
If you want to do an inlay with the engraver or router, the Inlay feature in the tool path tools is very helpful if you cutout the shape and pocket cut for the shape using the software. If you are just inlaying a circle shape that is not cut out using the vision machine and software, then just cutting the pocket is fine.
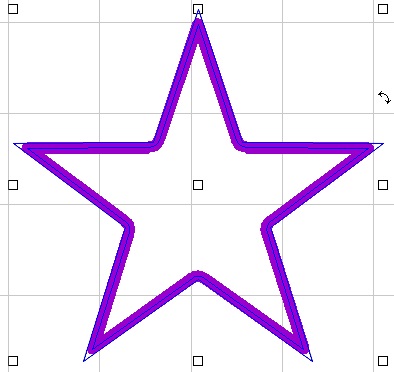
We are going to use a star for this example. We first start with cutting out the shape so that we can make sure it will fit in the pocket because the pocket can always be expanded if needed.
Go to Shape tools, Draw out a star (if you hold down the ctrl button when you drag out the star, it will remain at zero rotation), make the star the size you want, duplicate it (for the pocket), put a male tool path on one of the stars, make sure the Inlay is checked, and then cut out the star.
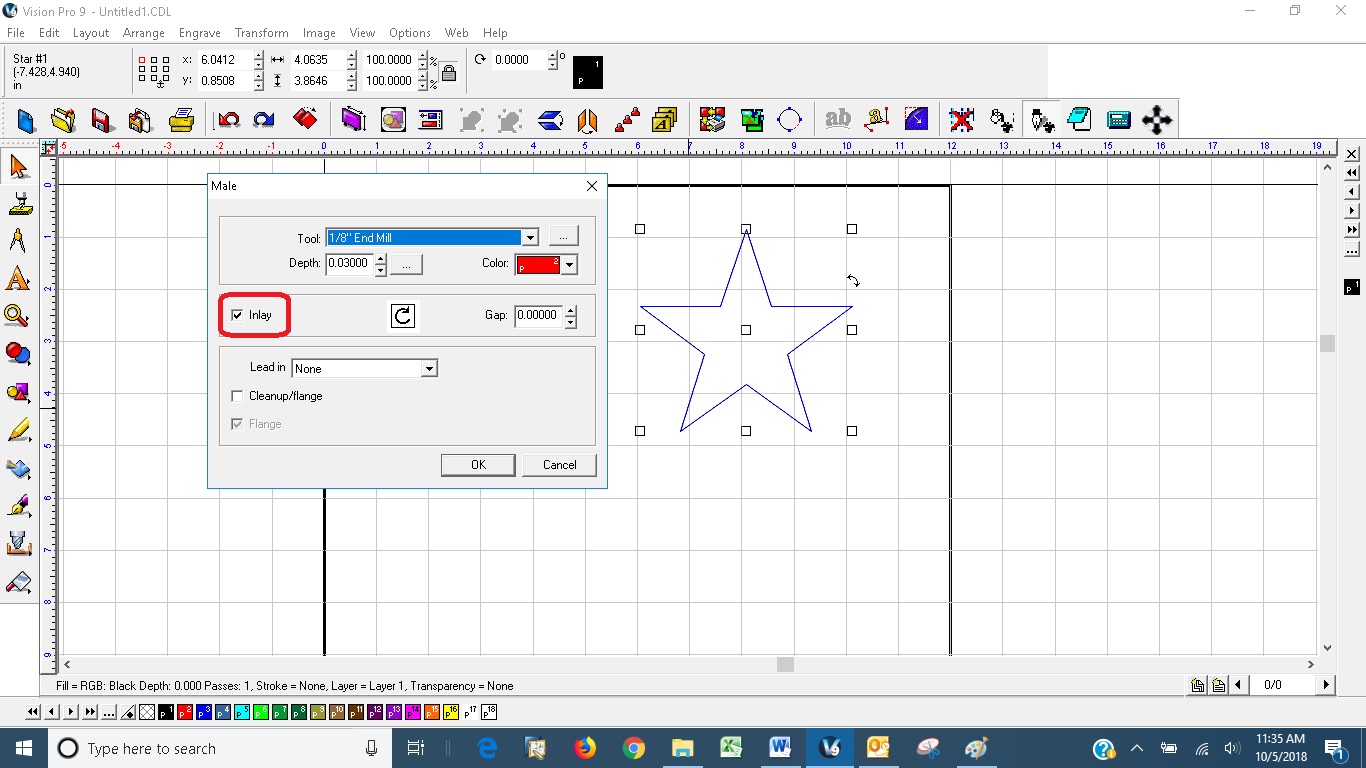
By having the Inlay checked, it rounds the outside corners so that the shape will fit in the pocket. It is also recommended that you use the same size tool to cut out the shape and cut the pocket so that the inside radius matches. ***Must use straight cut tools i.e. parallel cutter for the engraver and straight end mills for the router***
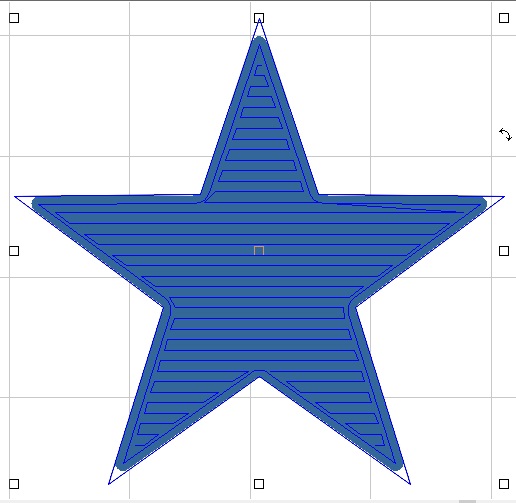
Take the duplicate star and now we will apply a fill to make the pocket. Make sure the Inlay is checked, for a very tight fit make the gap -.005 (if you want the shape to fit not as tight, make the gap bigger), and make the overlap 10-30%.

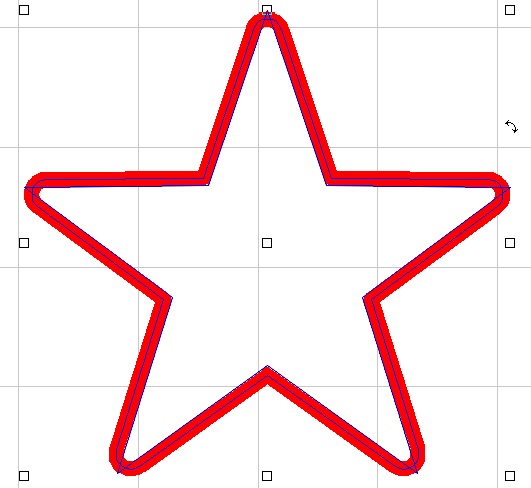
You can see that the corners are rounded the same on the fill as they are on the shape with the male tool path.
After the pocket is cut, try putting the shape in the pocket but do not move the pocket cut piece so that if the pocket needs to be widened it can be.
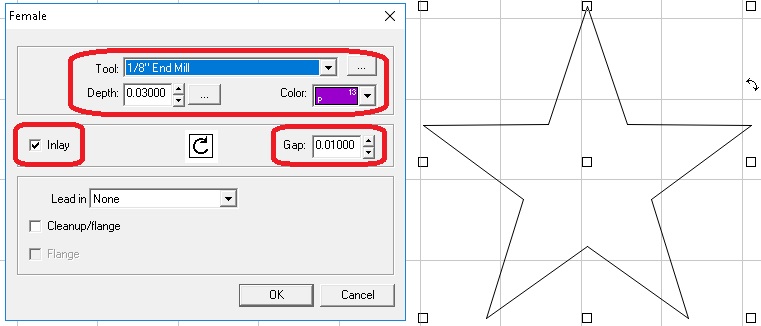
If you find the pocket is too tight for the shape, you can apply a female tool path to widen it out versus running the fill again.
Check out our other quick tips and check back in every month for a new tip.