
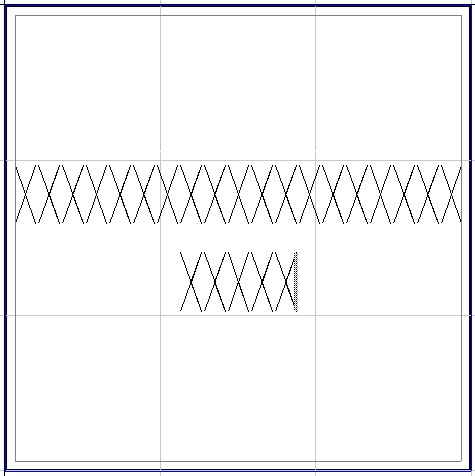
In the Vision software you can use a Frame Text Margin for the text so that you don’t engrave to the very edge of the material, miss a decorative border, or mounting holes, etc. So not only will the Frame Text Margins keep the text in the area you define but if you have only 1 line of text that needs to compress, other lines in the text box will compress and match the 1 line that did compress.
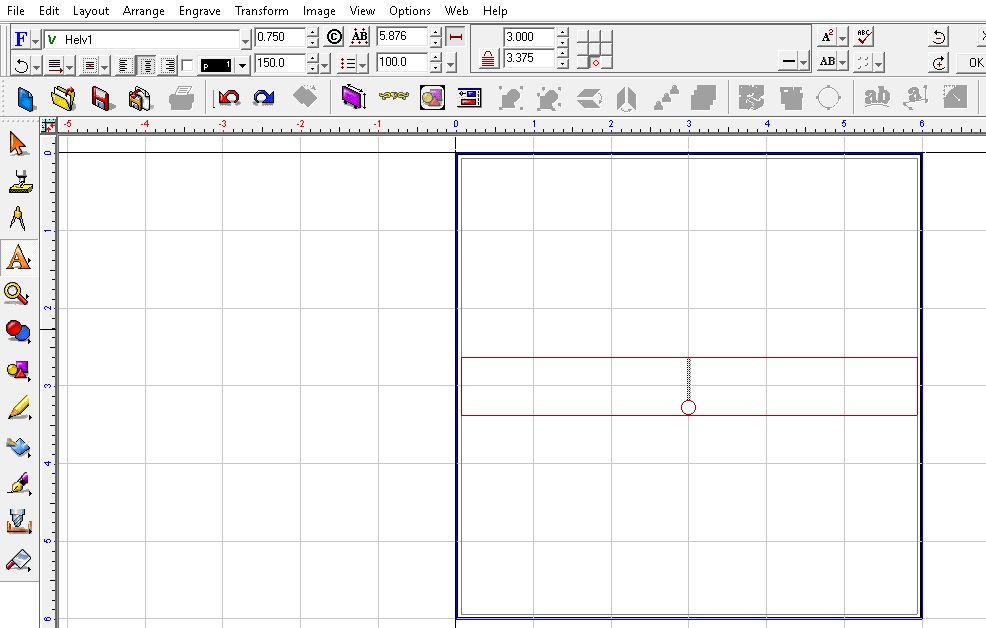
Left click on the Text tools then left click on Frame Text Compose, you should see a gray box inside the Plate.

***If you have V9 Text Layout checked (under Options on the top ribbon), it will look like this: ***
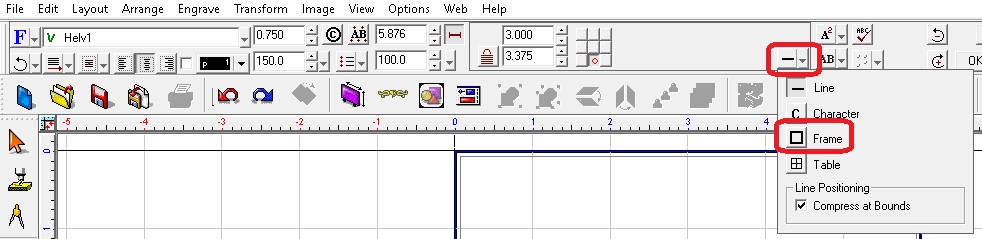
To change the Frame text Margins, left click on the Toolbar Mode icon, and then Frame.
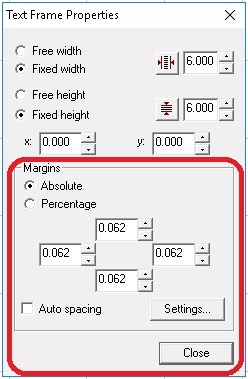
Left click on the drop down box to change it from Percentage Margins to Absolute Margins so you can change the margins to an actual measurement, then type in the measurement you want for the margins ( left, right, top, bottom). You can leave it at percentage if you prefer.

***If V9 Text Layout is not checked (under Options from the top ribbon) or you are using an older version of the software (8 or 7), then it will look like this: ***
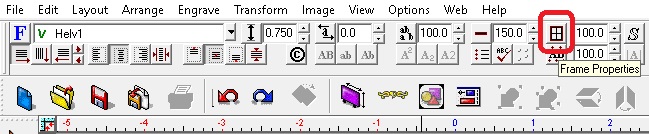
Left click on the Frame Properties and change the margins to the measurement or percentage that you want.
Now your text will not go outside of the margins.
Check back next month for another Quick Tip.