
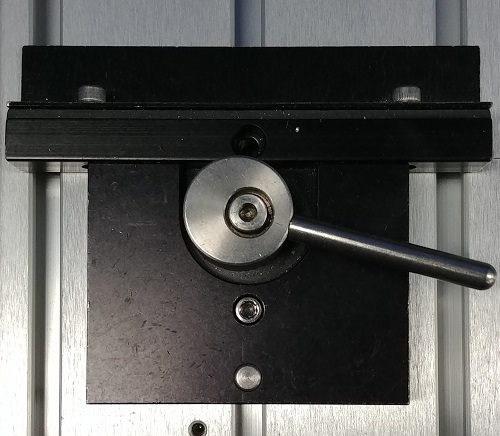
The quick lock vise is used to hold 1 piece of material at a time (metal tags, precut plastic tags, etc.) and be able to quickly change out and run many pieces of the same size on the t-slot table.
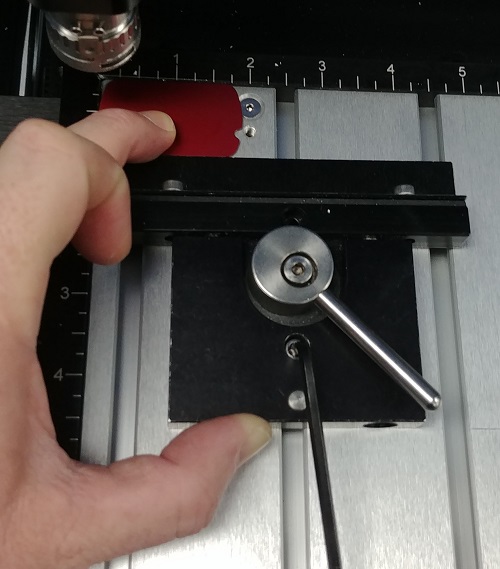
Place your tag in the upper left corner, adjust the height of your guide rails (for metal-just above the surface of the tag/ for Plastic-just below the surface of the tag), push down on the tag, rotate the metal arm down to the corner of the vise, push the vise up against the tag, and tighten the t-nut bolt with the 9/64 allen wrench.
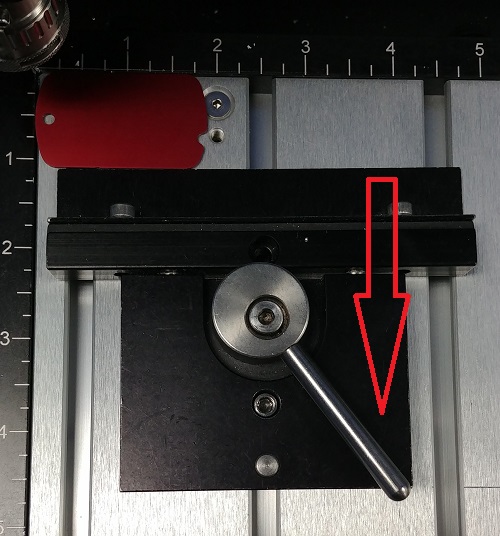
Pull the metal handle a little past the corner to give just a little more pressure on the tag, just to make sure tag doesn’t slide out but not so much as to bow the material or push out the guiderails.
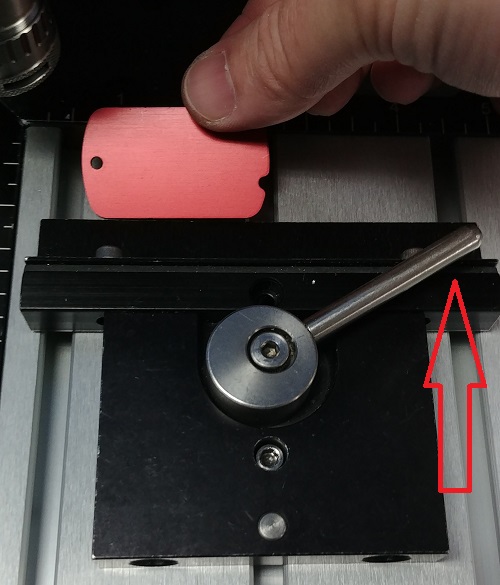
When done engraving, push the handle forward to release the tag, load in a new one, pull the handle down again, and continue on.
If you are engraving 1 piece only, you can just slide the vise up to the tag and tighten the t-nut bolt and not deal with the lever.
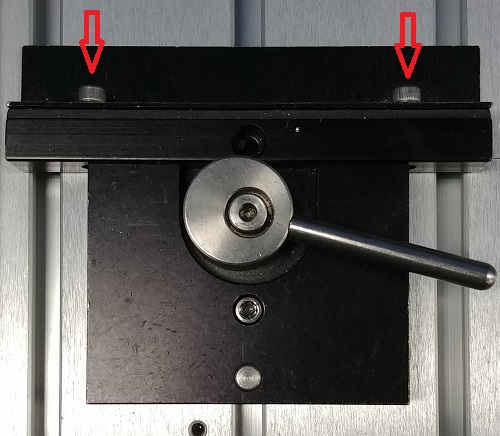
Also know that if you want to take off the front blade of the vise for holding thicker items, you just have to remove the 2 allen head bolts.
Hope this helps, check back next month for another Quick Tip and check the Archive in Quick Tips, lots of good info.