Sometimes it’s helpful to have a folder that has only the fonts you use. This is how to do that:
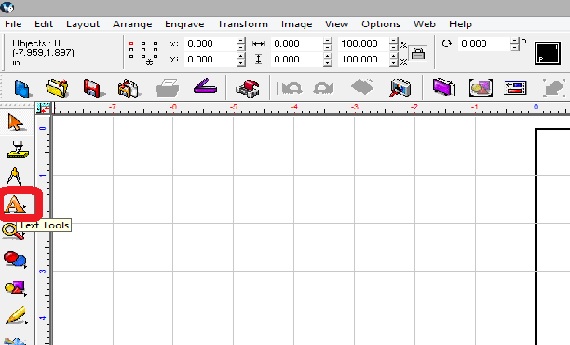
Open the Vision software and click on Text Tools, then click on Frame Text Compose.
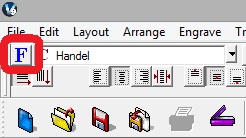
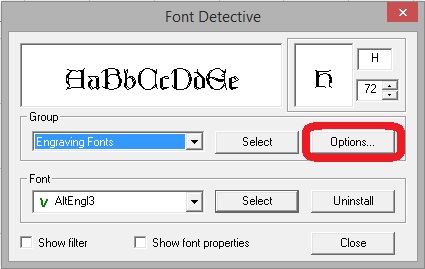
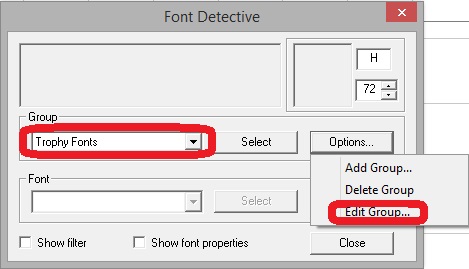
Click on the Font Detective, then Options, then Add Group.
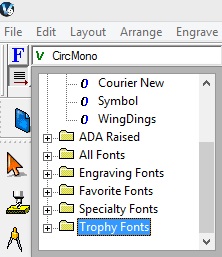
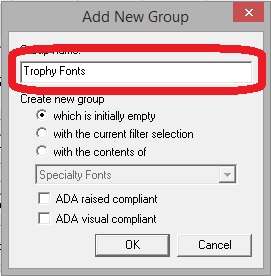
For this example we used Trophy Fonts for the name, but you can name the folder what you need it to be. If you are just putting a few fonts in the folder, it’s easier to check “which is initially empty” and click OK.
Make sure the new folder is showing in the window, click Options again, then Edit Group.
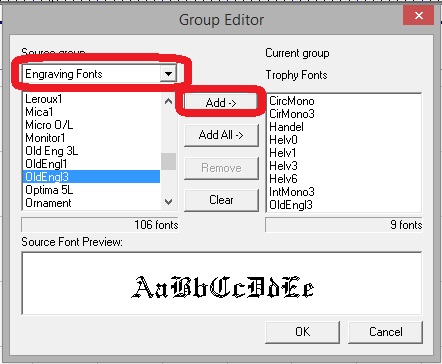
From here, the desired fonts for the new folder can be picked. Choose the folder that has the fonts you want and just add desired fonts to the new folder. When you’re done, just click OK, then Select.
The new Font folder will be in your list with the new fonts ready to use.