
The nesting feature in Vision Pro (only available in Vision Pro) can help you be more efficient with material and time when cutting out letters/objects.
For this example we are using text and shapes that we are going to cut out using a 1/16” endmill. Type out your text, add your shapes, select the text, click on Arrange at the top, then click on Text To Graphics (to break the text down to individual pieces), then deselect.
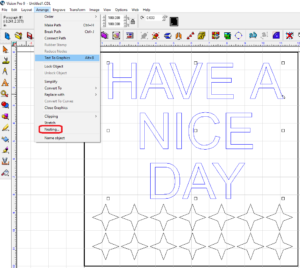
Now select all the text and shapes, click on Arrange, and then Nesting. Starting from the left on the toolbar, pick the corner and direction you want the nesting to work from, 90 degrees to allow for some rotation when possible, distance for margin (from the plate edge), 1/8” space between parts, .050 for error, and then Apply. The group of icons circled in red are something you can try out later.

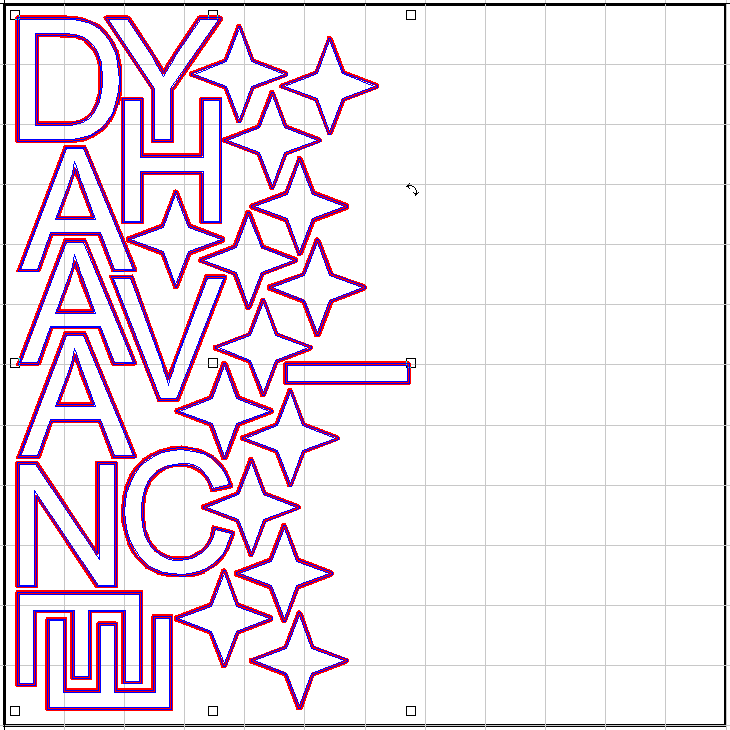
After hitting Apply, all your objects are fit together to be more efficient for the material.

Now apply tool paths to everything and run it.
So with just a few clicks of the mouse, you can be efficient in material and time.