The laser measurement tool in Vision Engraving Software is very useful. It allows you to measure the size of your engraving area on your material using a laser pointer, then imports the measurements as your plate size into Vision Engraving Software. The measurement tool makes setting up your application easier, and allows for precise placement of your marking/ engraving on your application area. This quick tip is only for the series 5 Express Small Engraver, VE810 Small Engraver, and Phoenix Medium Engraver. The series 5 large machines and all of the series 3 and series 4 machines have this feature as well, but the process to use the Laser Measurement Tool is a bit different.
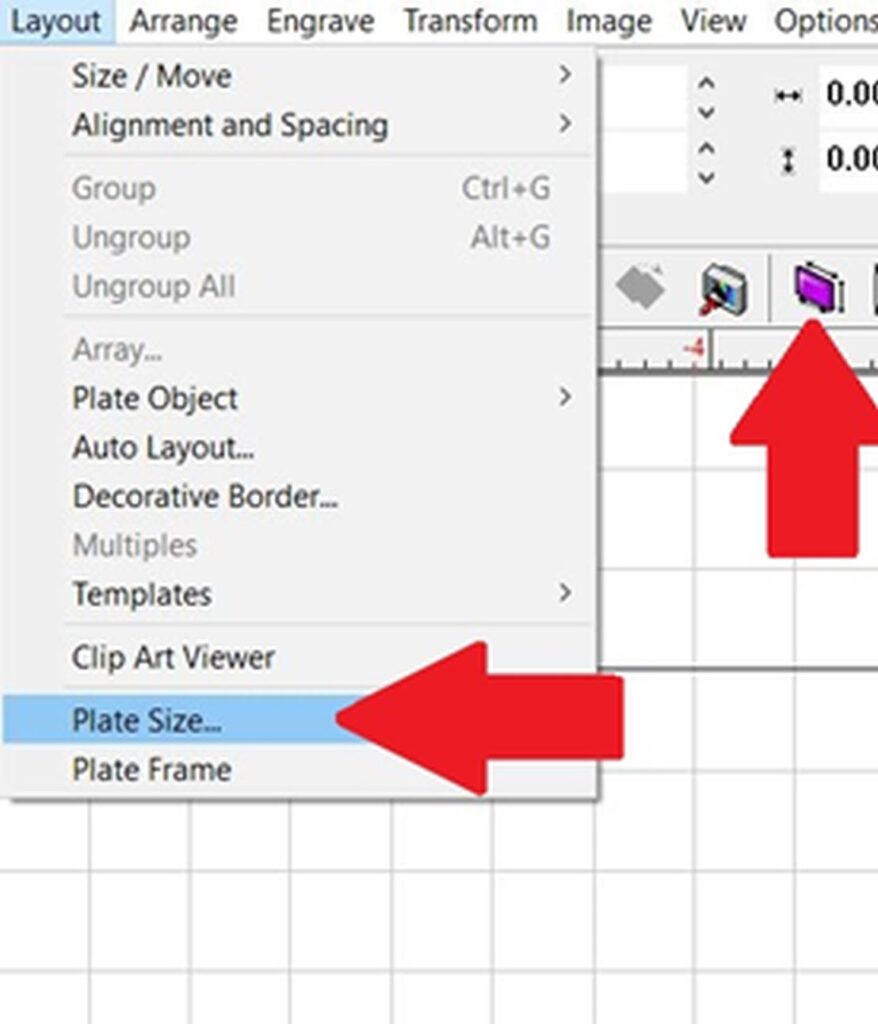
The Laser Measurement feature is located in the Layout dropdown under Plate Size in the menu bar. See Fig 1.
In the Plate Size dialog box, click on the Measure button. See Fig 2.

This will turn on the laser measurement feature on the engraving machine. See Fig 3.
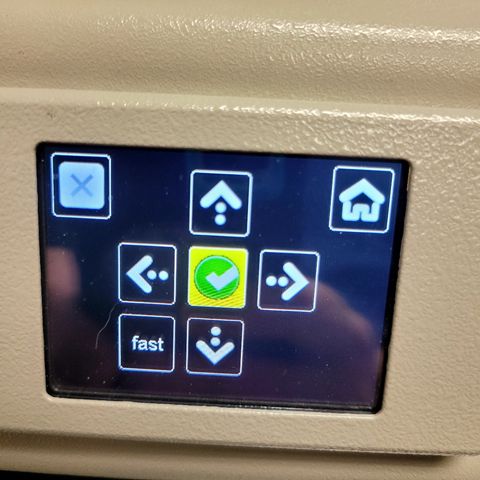
Use the arrows on the touch screen, to move the laser pointer to the upper left-hand corner of the engraving area. Next press the center yellow button on the touch-screen to set this as your upper left location. See Fig 4. Press the “Fast-Med-Slow” button to adjust the moving speed of the engraver.
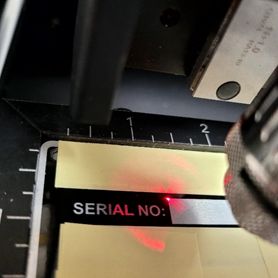
Now that you have set your upper left location, use the arrows on the touch screen, to move the laser pointer to the lower right-hand corner of the engraving area. See fig 5
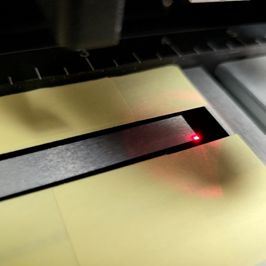
When you are over the desired location, press the center yellow button on the touch-screen. The center yellow button will now change to a magnifying glass. See Fig 6.
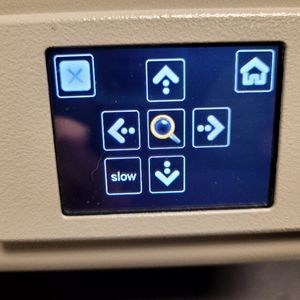
Optional, if you press the magnifying glass, it will move the laser outlining the engraving area. See Fig 7.
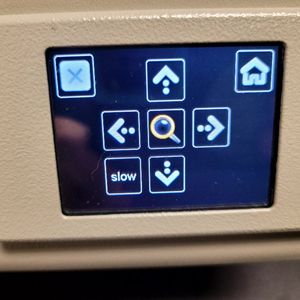
After confirming the engraving area, select the “X” button on the top left of the touch screen to go back to the home screen.
The size of the material you just measured will now be displayed as your Width and Height. See Fig 8.

Click OK and your new plate size will be displayed on your screen. See Fig 9.

Before you engrave, you will notice on the top toolbar, “Preset home 8”.

Check back next month for more Engraving Quick Tips. Contact Vision Engraving & Routing Systems to learn about Laser Measure Tool, or to request a free online engraving demo. Visit us online today at www.visionengravers.com or call 1-888-637-1737.
