It is essential to keep your engraving area clear of debris while running a job. Vision’s Vacuum Chip Removal System helps remove chips & debris produced during engraving. You should empty or change the vacuum bag daily or weekly depending on how often you run your Vision engraving machine. This will insure your Vacuum Chip Removal System is running at optimal levels. This tutorial will show you how to empty or change the vacuum bag on your Vision Vacuum Chip Removal System.
Unplug the vacuum from the electrical outlet and remove the vacuum hose from the top intake port. See Fig1
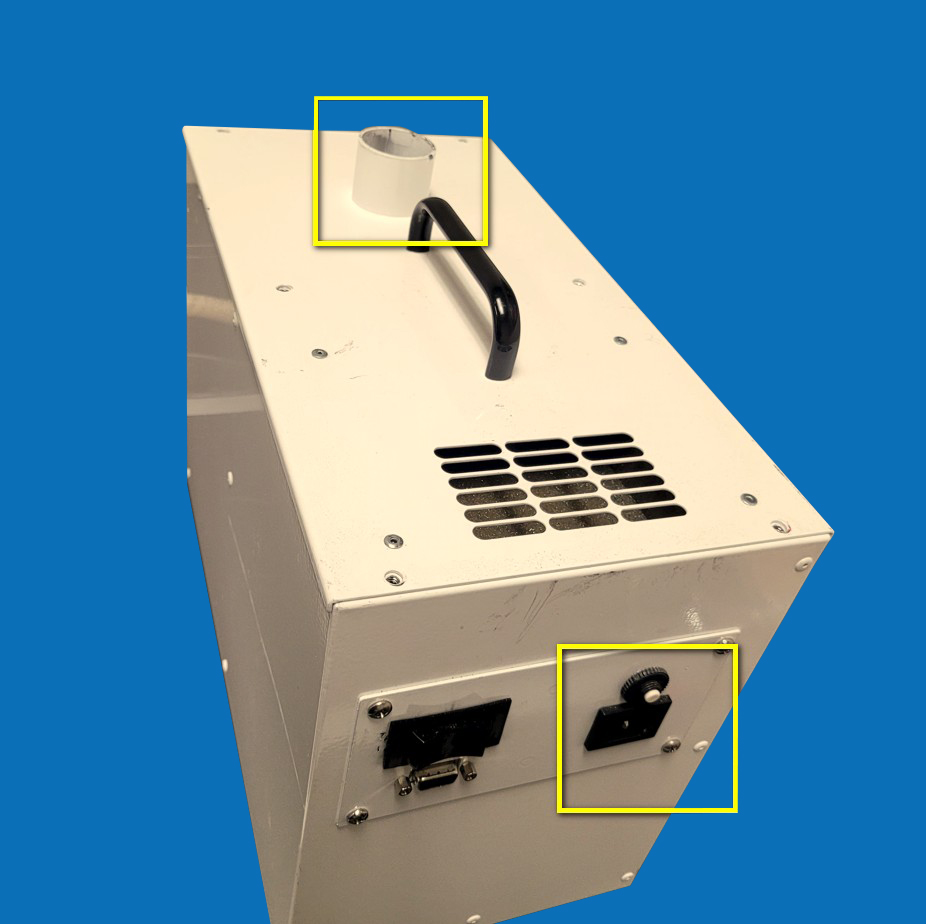
Remove the 6 thumb screws on the top of the vacuum and slowly raise the top cover. The vacuum bag is located beneath the top cover.
Slowly remove the vacuum bag from the collection port to prevent the bag from falling off. See Fig2
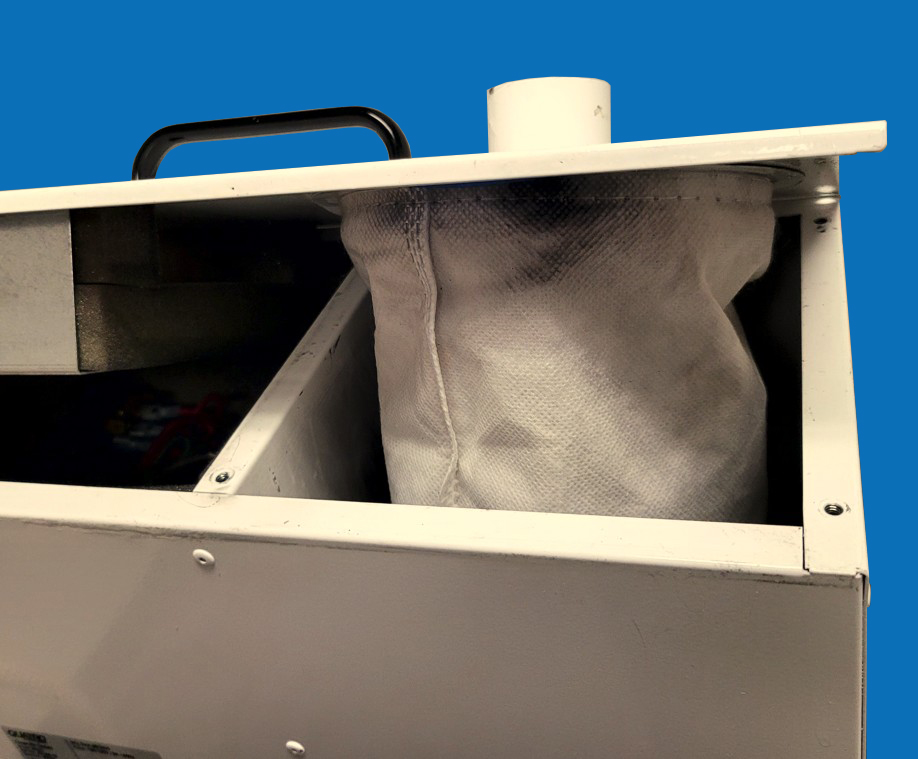
You can also clean the HEPA filter by removing the filter and blowing it out. See Fig3
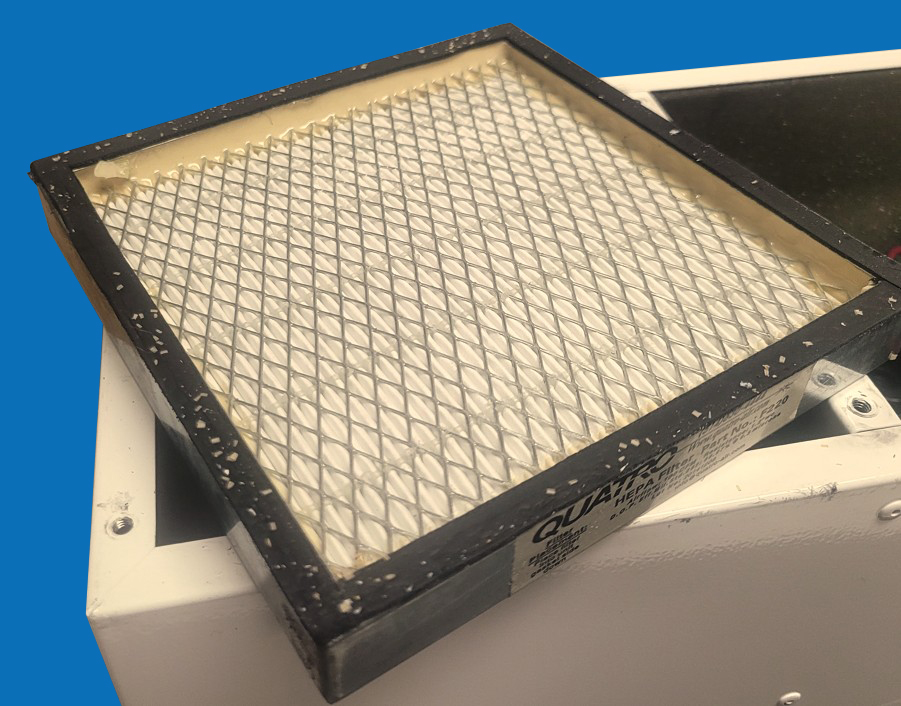
You can either empty the bag or simply replace the bag with a new one.
Place the new or emptied vacuum bag over the vacuum’s collection port. See Fig4
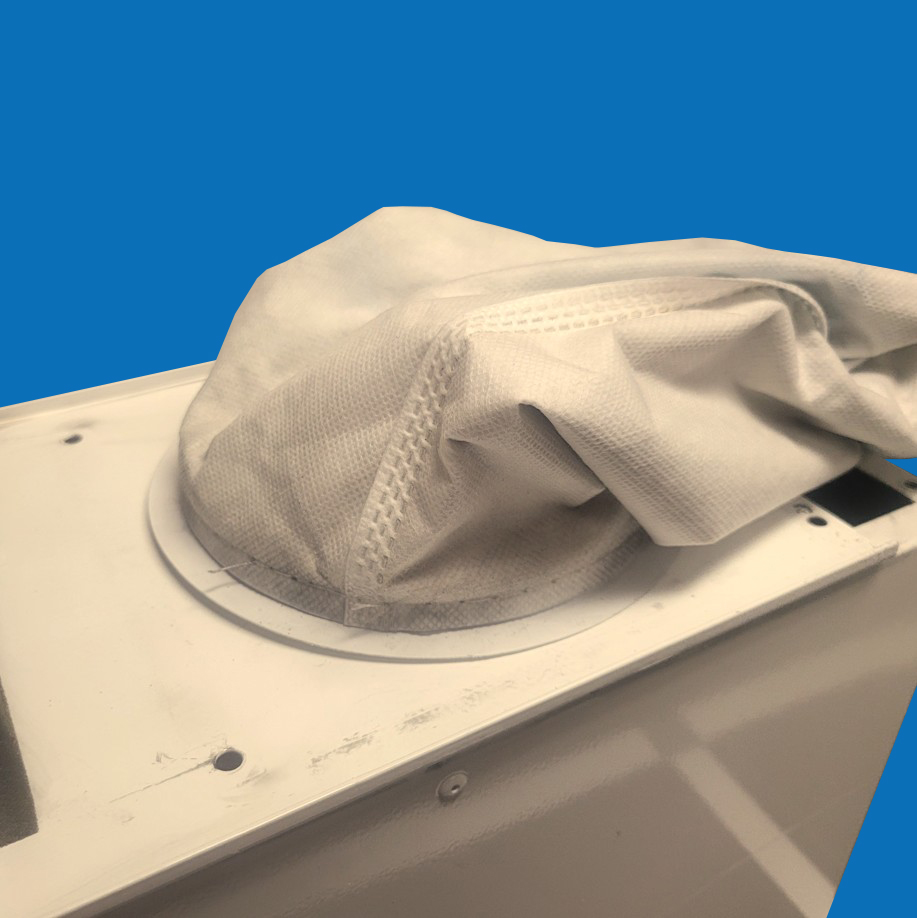
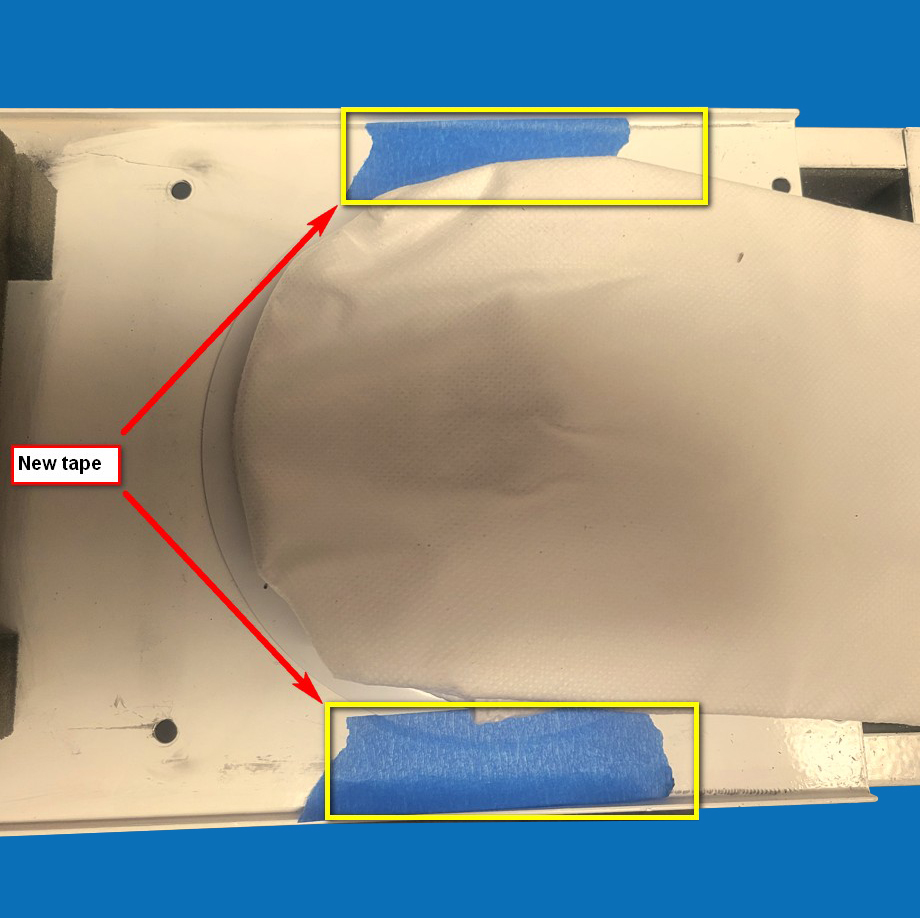
Use removable tape on both sides of the vacuum bag to keep it in place. In the example, we used blue painter’s tape. See Fig5
Flip the cover back over and install the 6 retaining screws. Place the vacuum hose back over the air intake port and plug it into an electrical outlet. You are now ready to run your Vacuum Chip Removal System with your Vision Engraving Machine or CNC Router.
Check back next month for more Engraving Quick Tips. Contact Vision Engraving & Routing Systems to learn about changing the vacuum bag, or to request a free online engraving demo. Visit us online today at www.visionengravers.com or call 1-888-637-1737.
