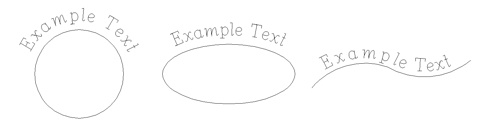
It is often desirable to orient text so that it follows a contour of another object in your design. Typical examples of text following a shape or a curve are shown below.
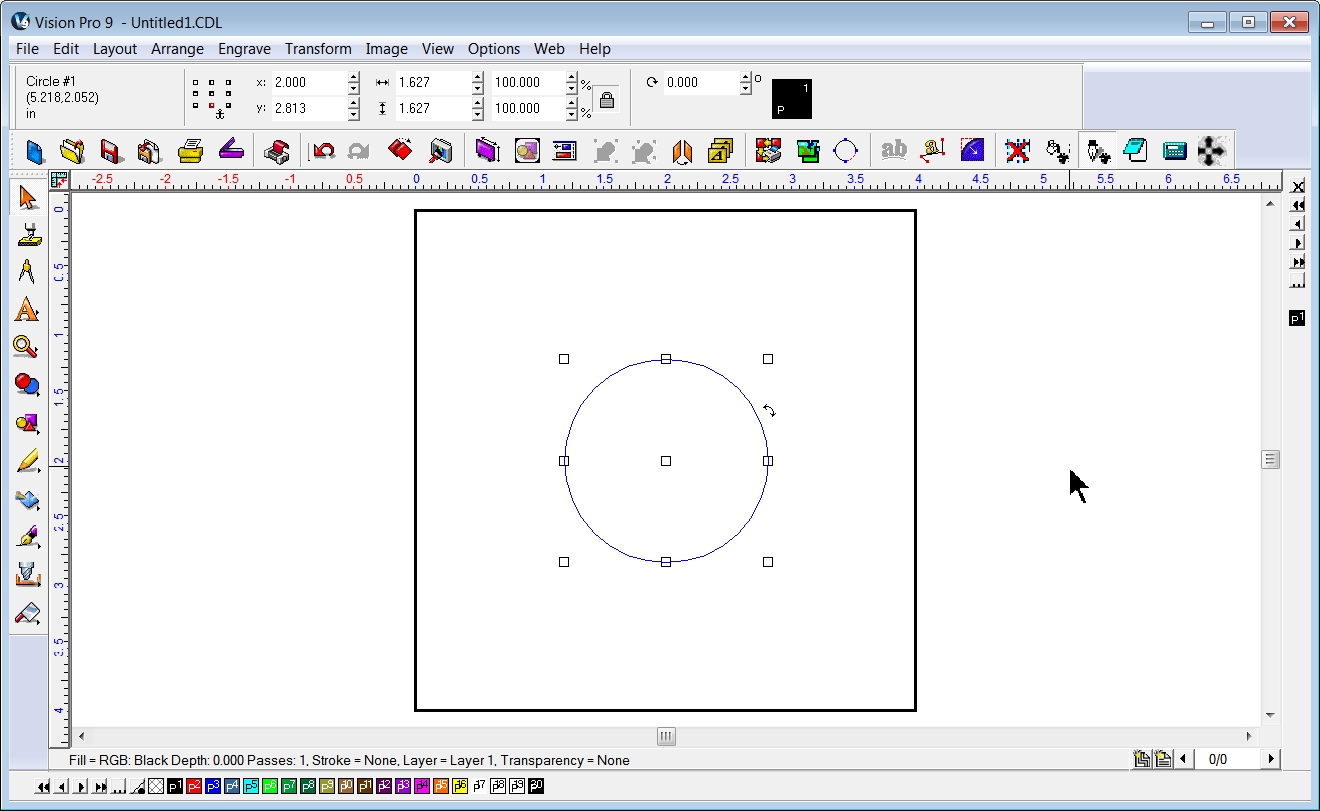
To place text on a path, the “Fit Text to Path” command is used. Begin by drawing an object in Vision software. In this example a circle was drawn using the Circle Tool.
The circle was then stretched to create an oval, by clicking/holding/dragging from one of the side nodes.
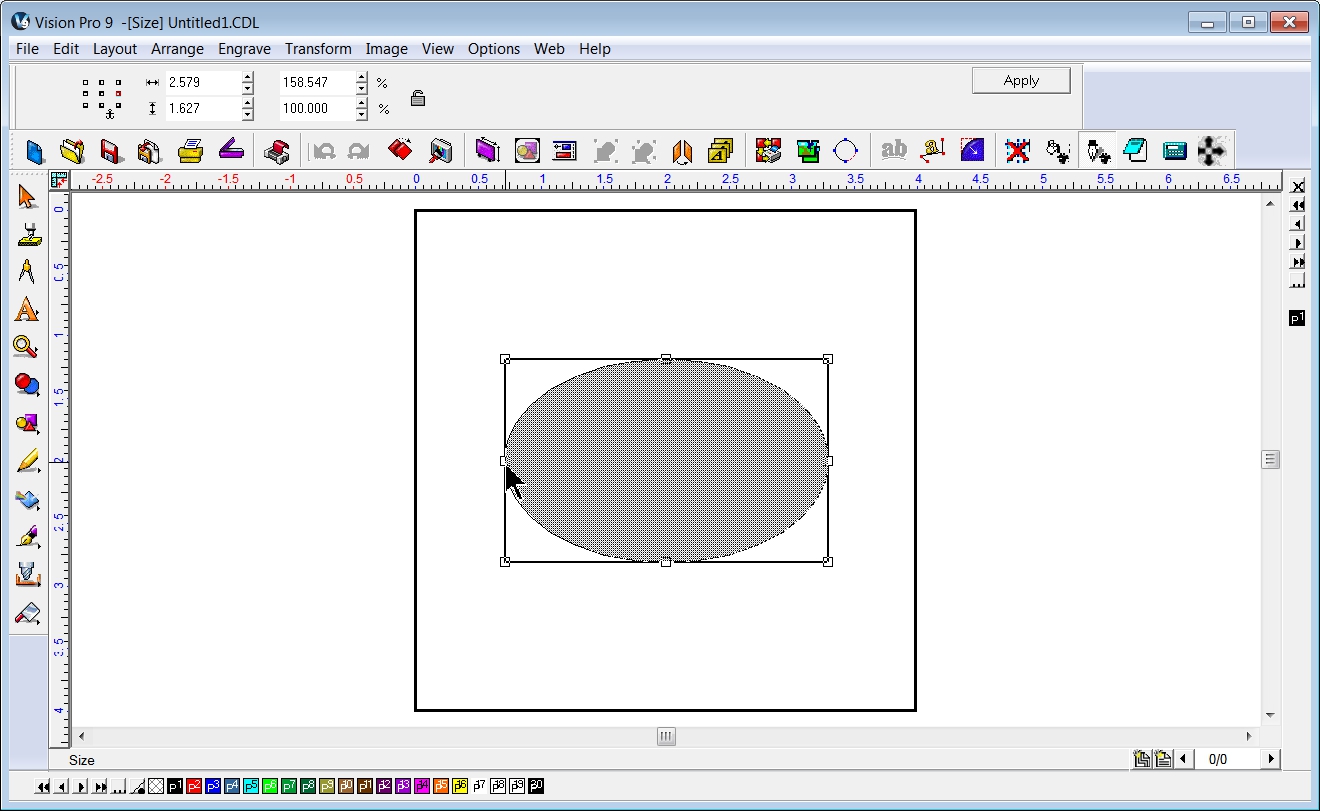
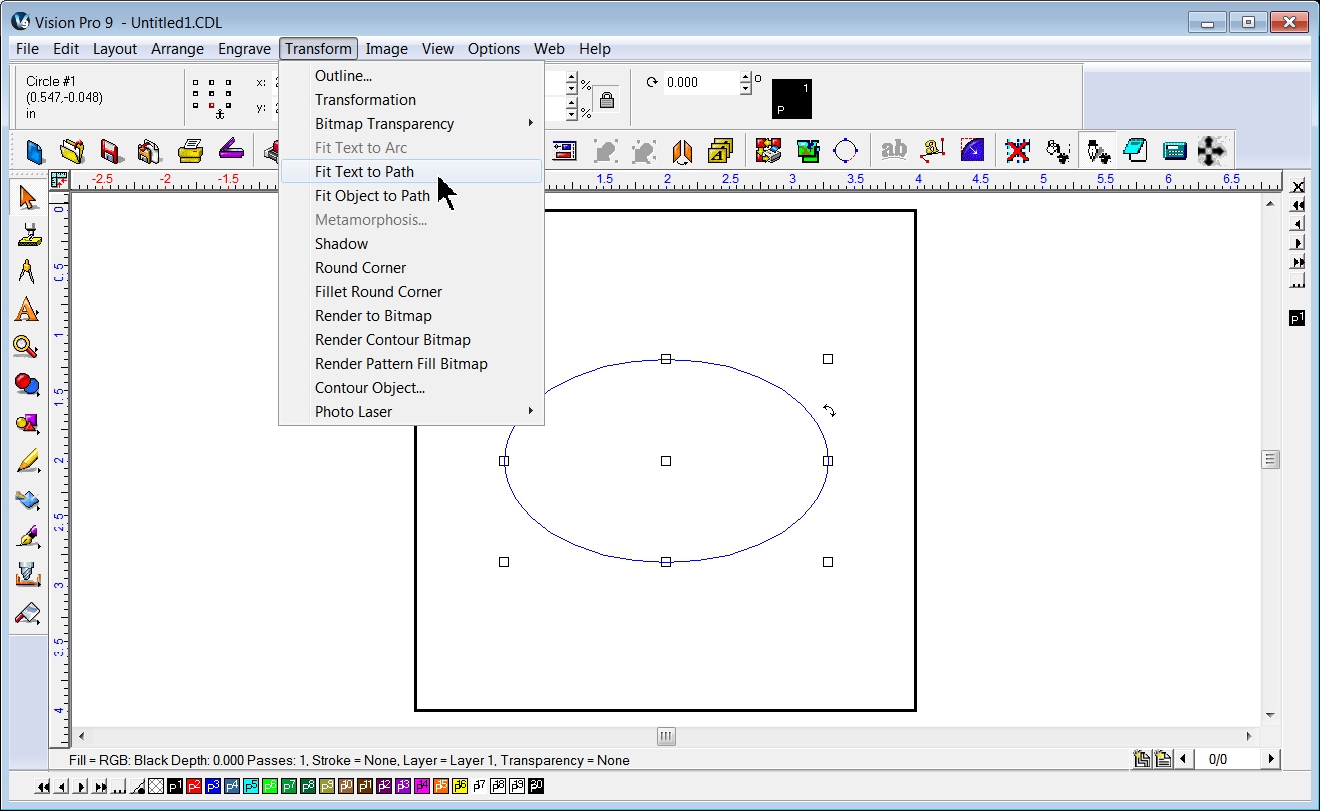
The Fit Text to Path command was selected from within the Transform menu.
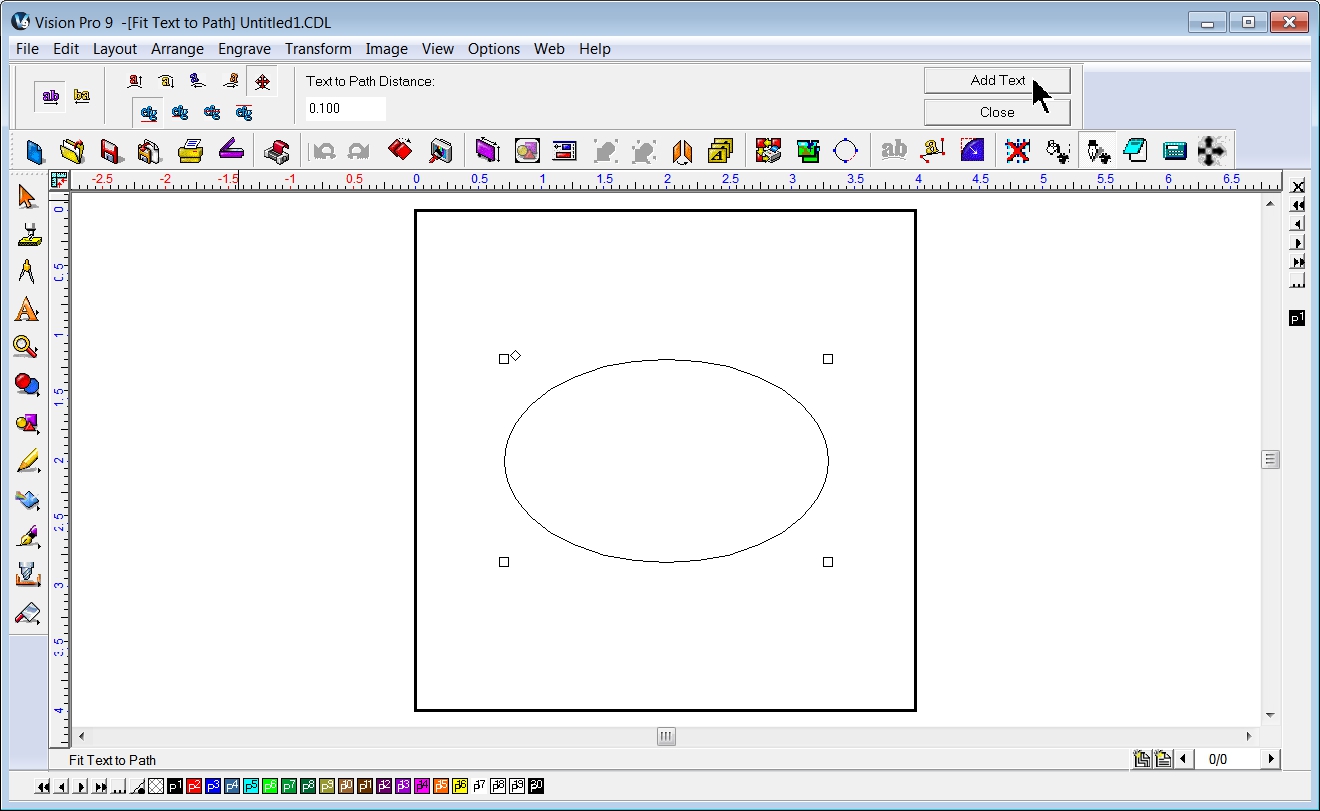
Click the Add Text button.
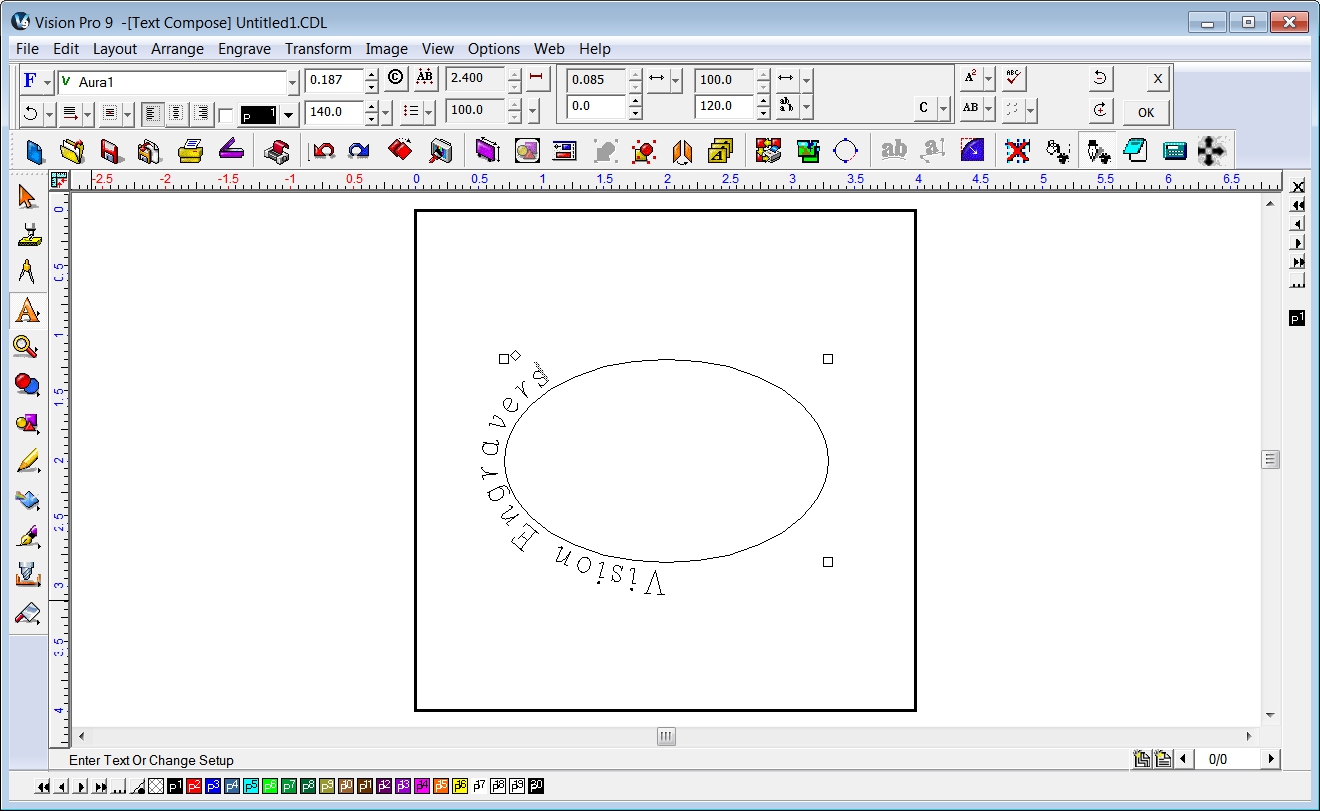
Select the Font, Font Height and other font settings, then type in the desired text. Note that the text will likely not be positioned correctly at this point. When finished typing, click OK on the top toolbar.
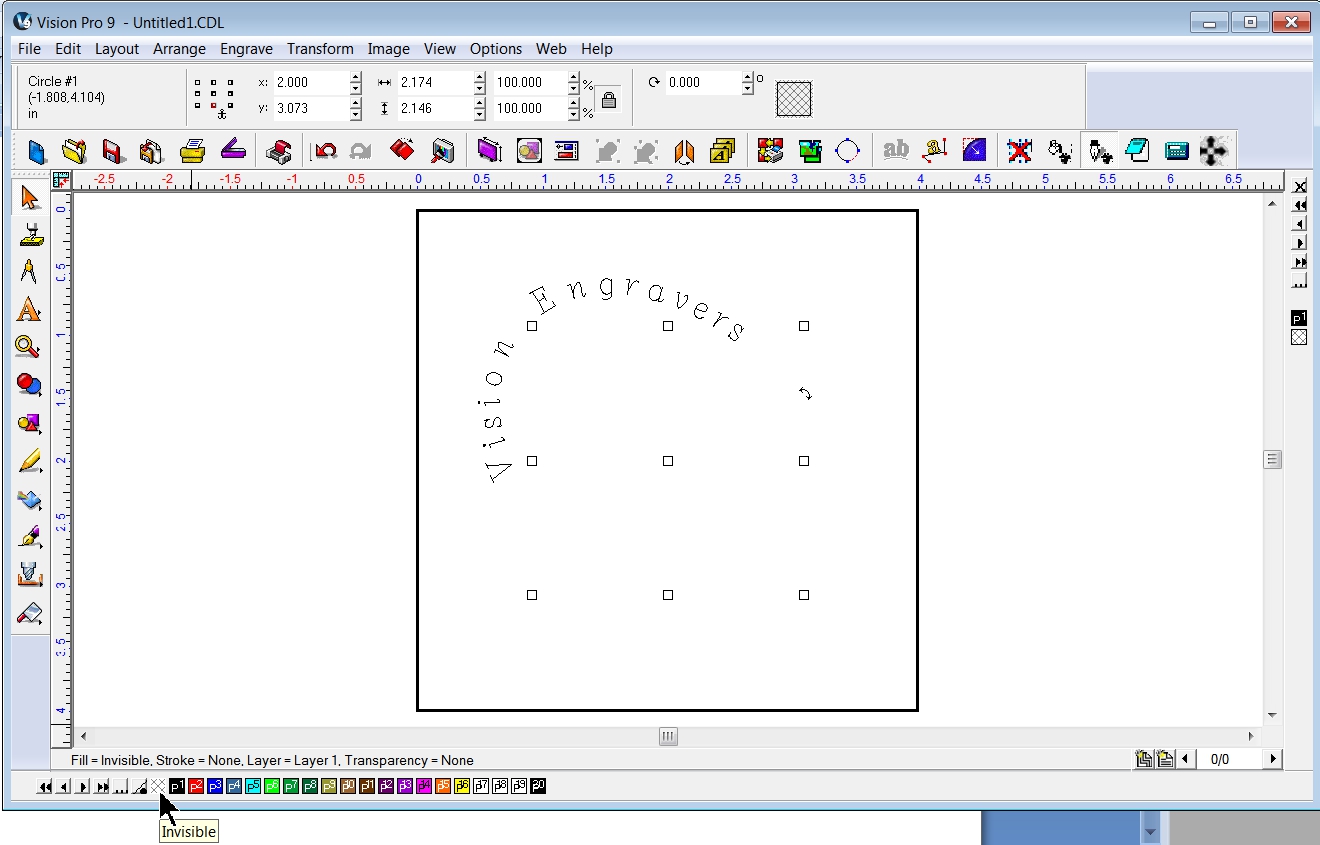
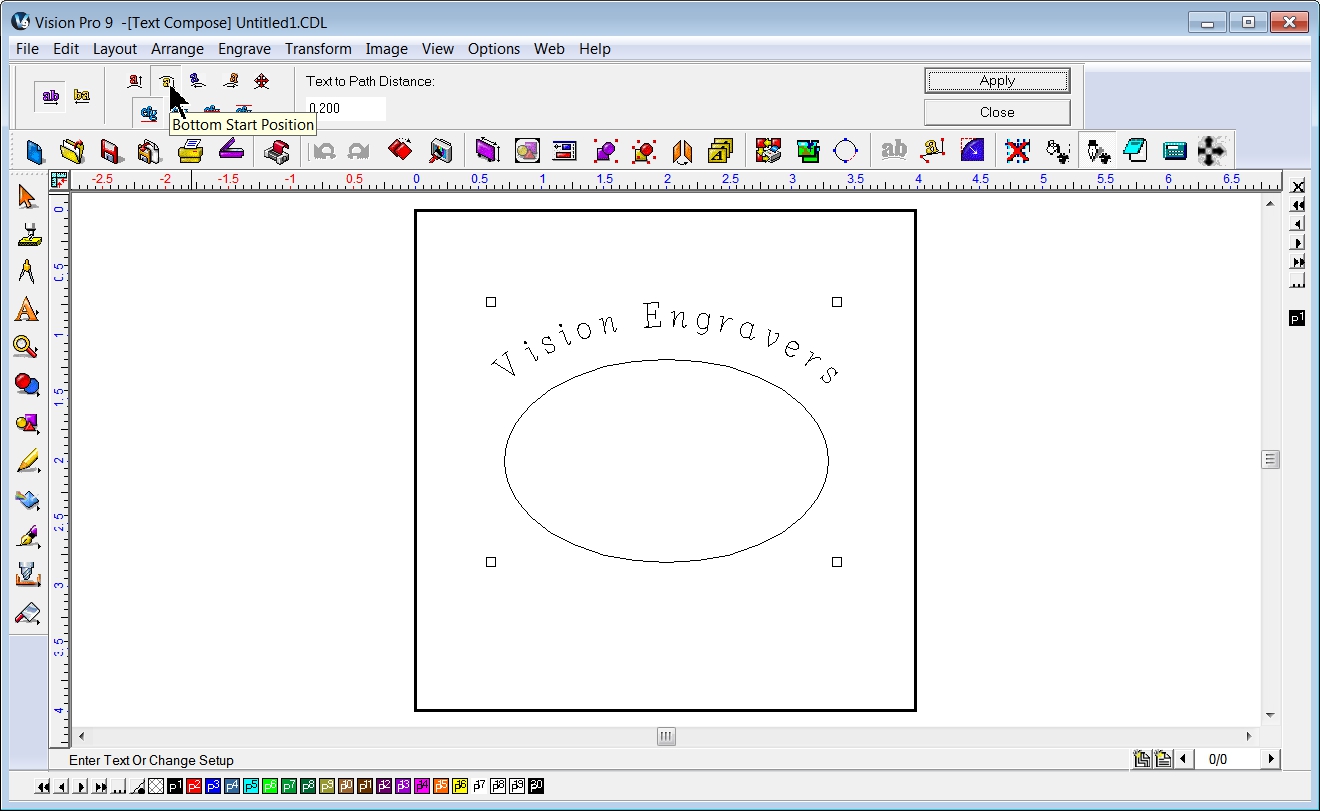
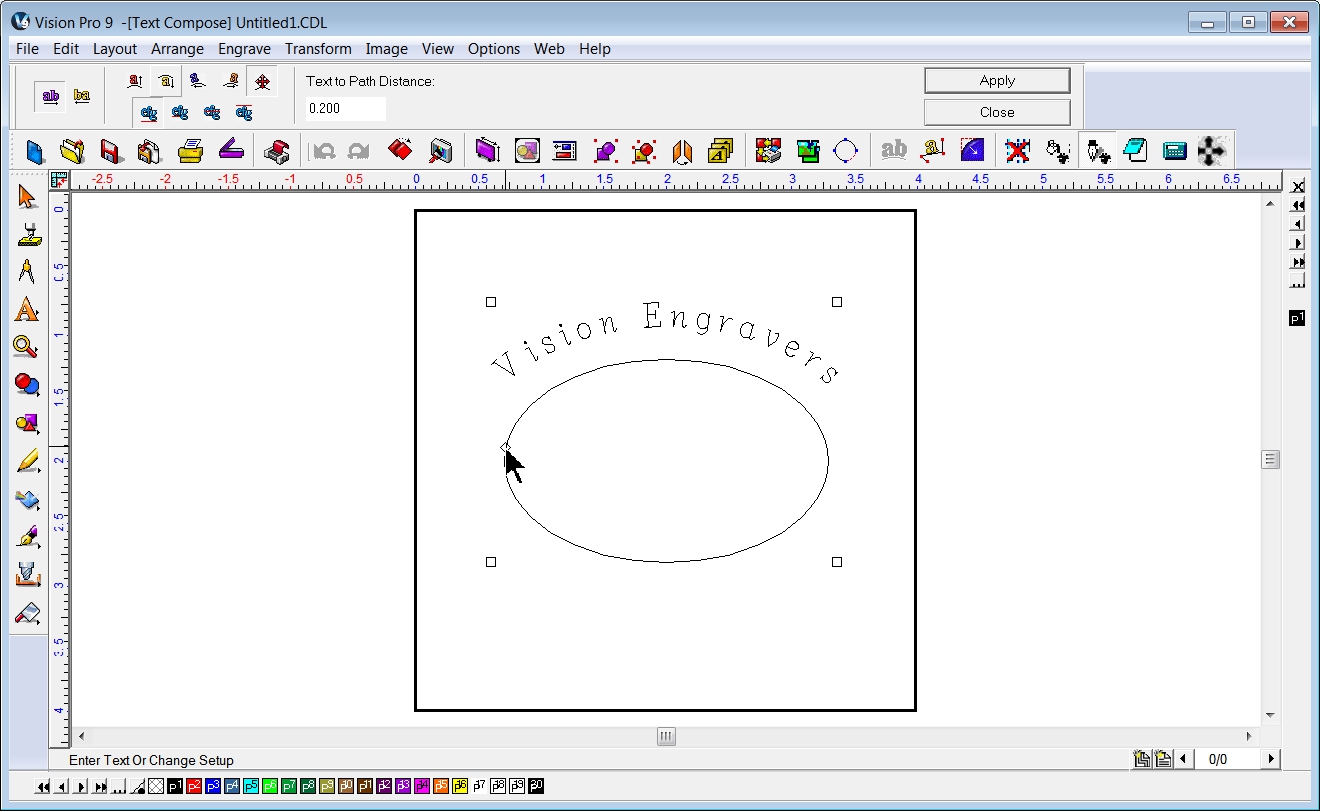
In order to position the text, use the positioning option icons on the menu bar. The icons available will depend on the type of path the text is being fitted to. After clicking on an icon, or changing the Text to Path Distance, you will need to click on Apply to see the change.
A very useful option is to use the User Pick Start Position icon.
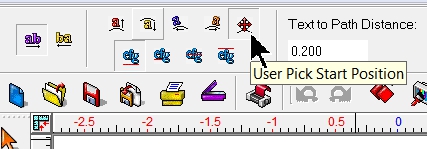
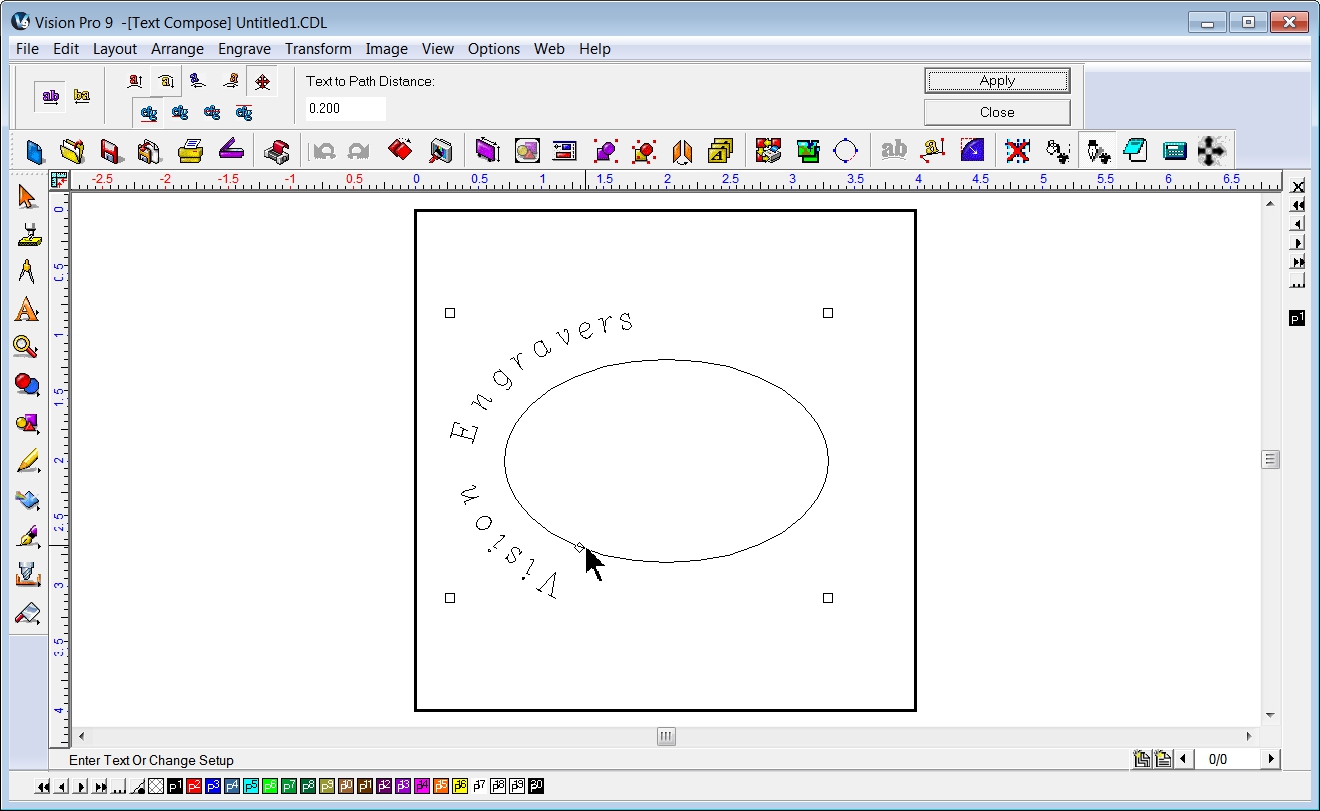
After clicking on this icon, using the mouse pointer, click on a point along the path to designate a start point for the text, then click on Apply. You can continue to click on any point along the path, then click on Apply to move the text along the path.
When finished, click on Close.
You can also select the path and rotate it in order to modify the way the text appears. Only select the path, not both the path and text when rotating.
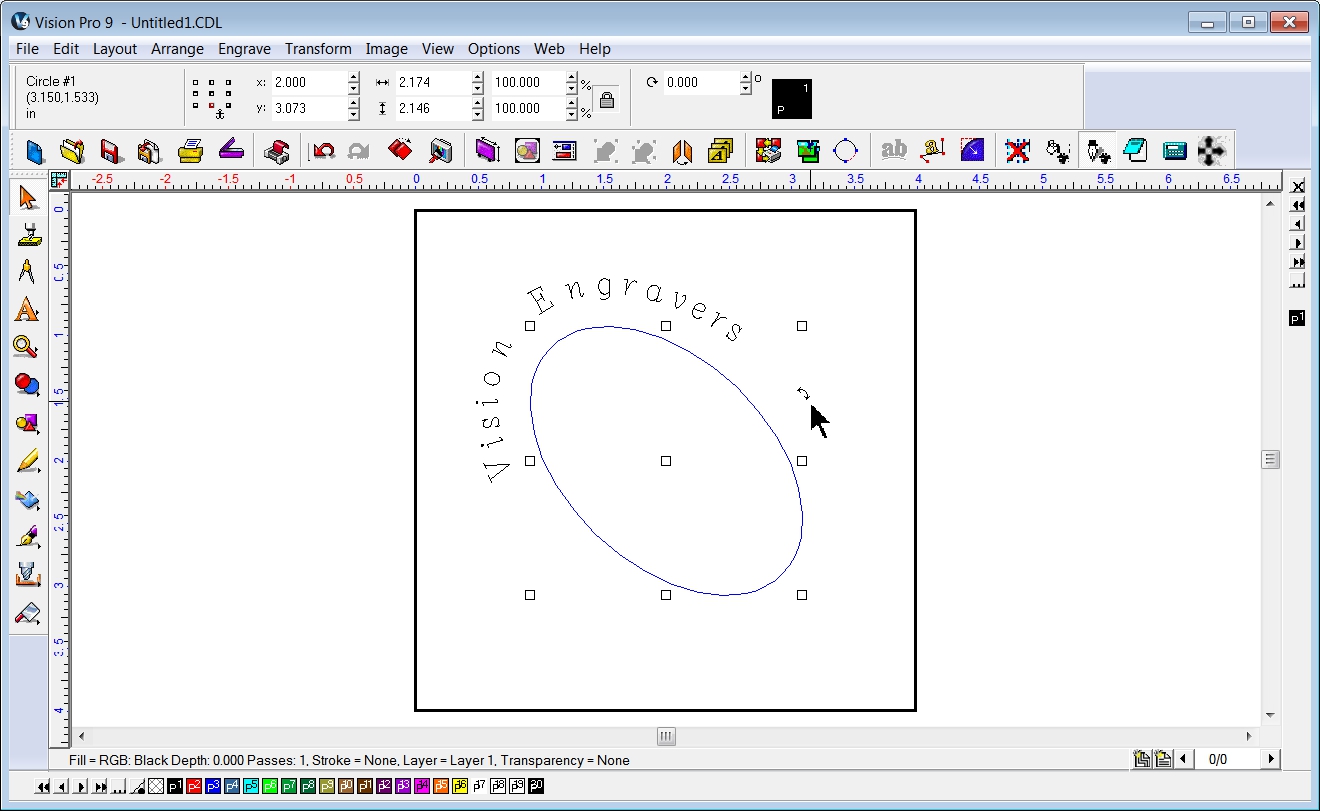
A useful tip is to left then right click on the “Invisible” color swatch on the bottom color bar when only the path is selected. This will display/print only the text and not send the path (the oval object in this example) to the engraver.