
To adjust the red laser pointer offset, you will need to determine the exact offset between the laser pointer and the cutting tool tip.
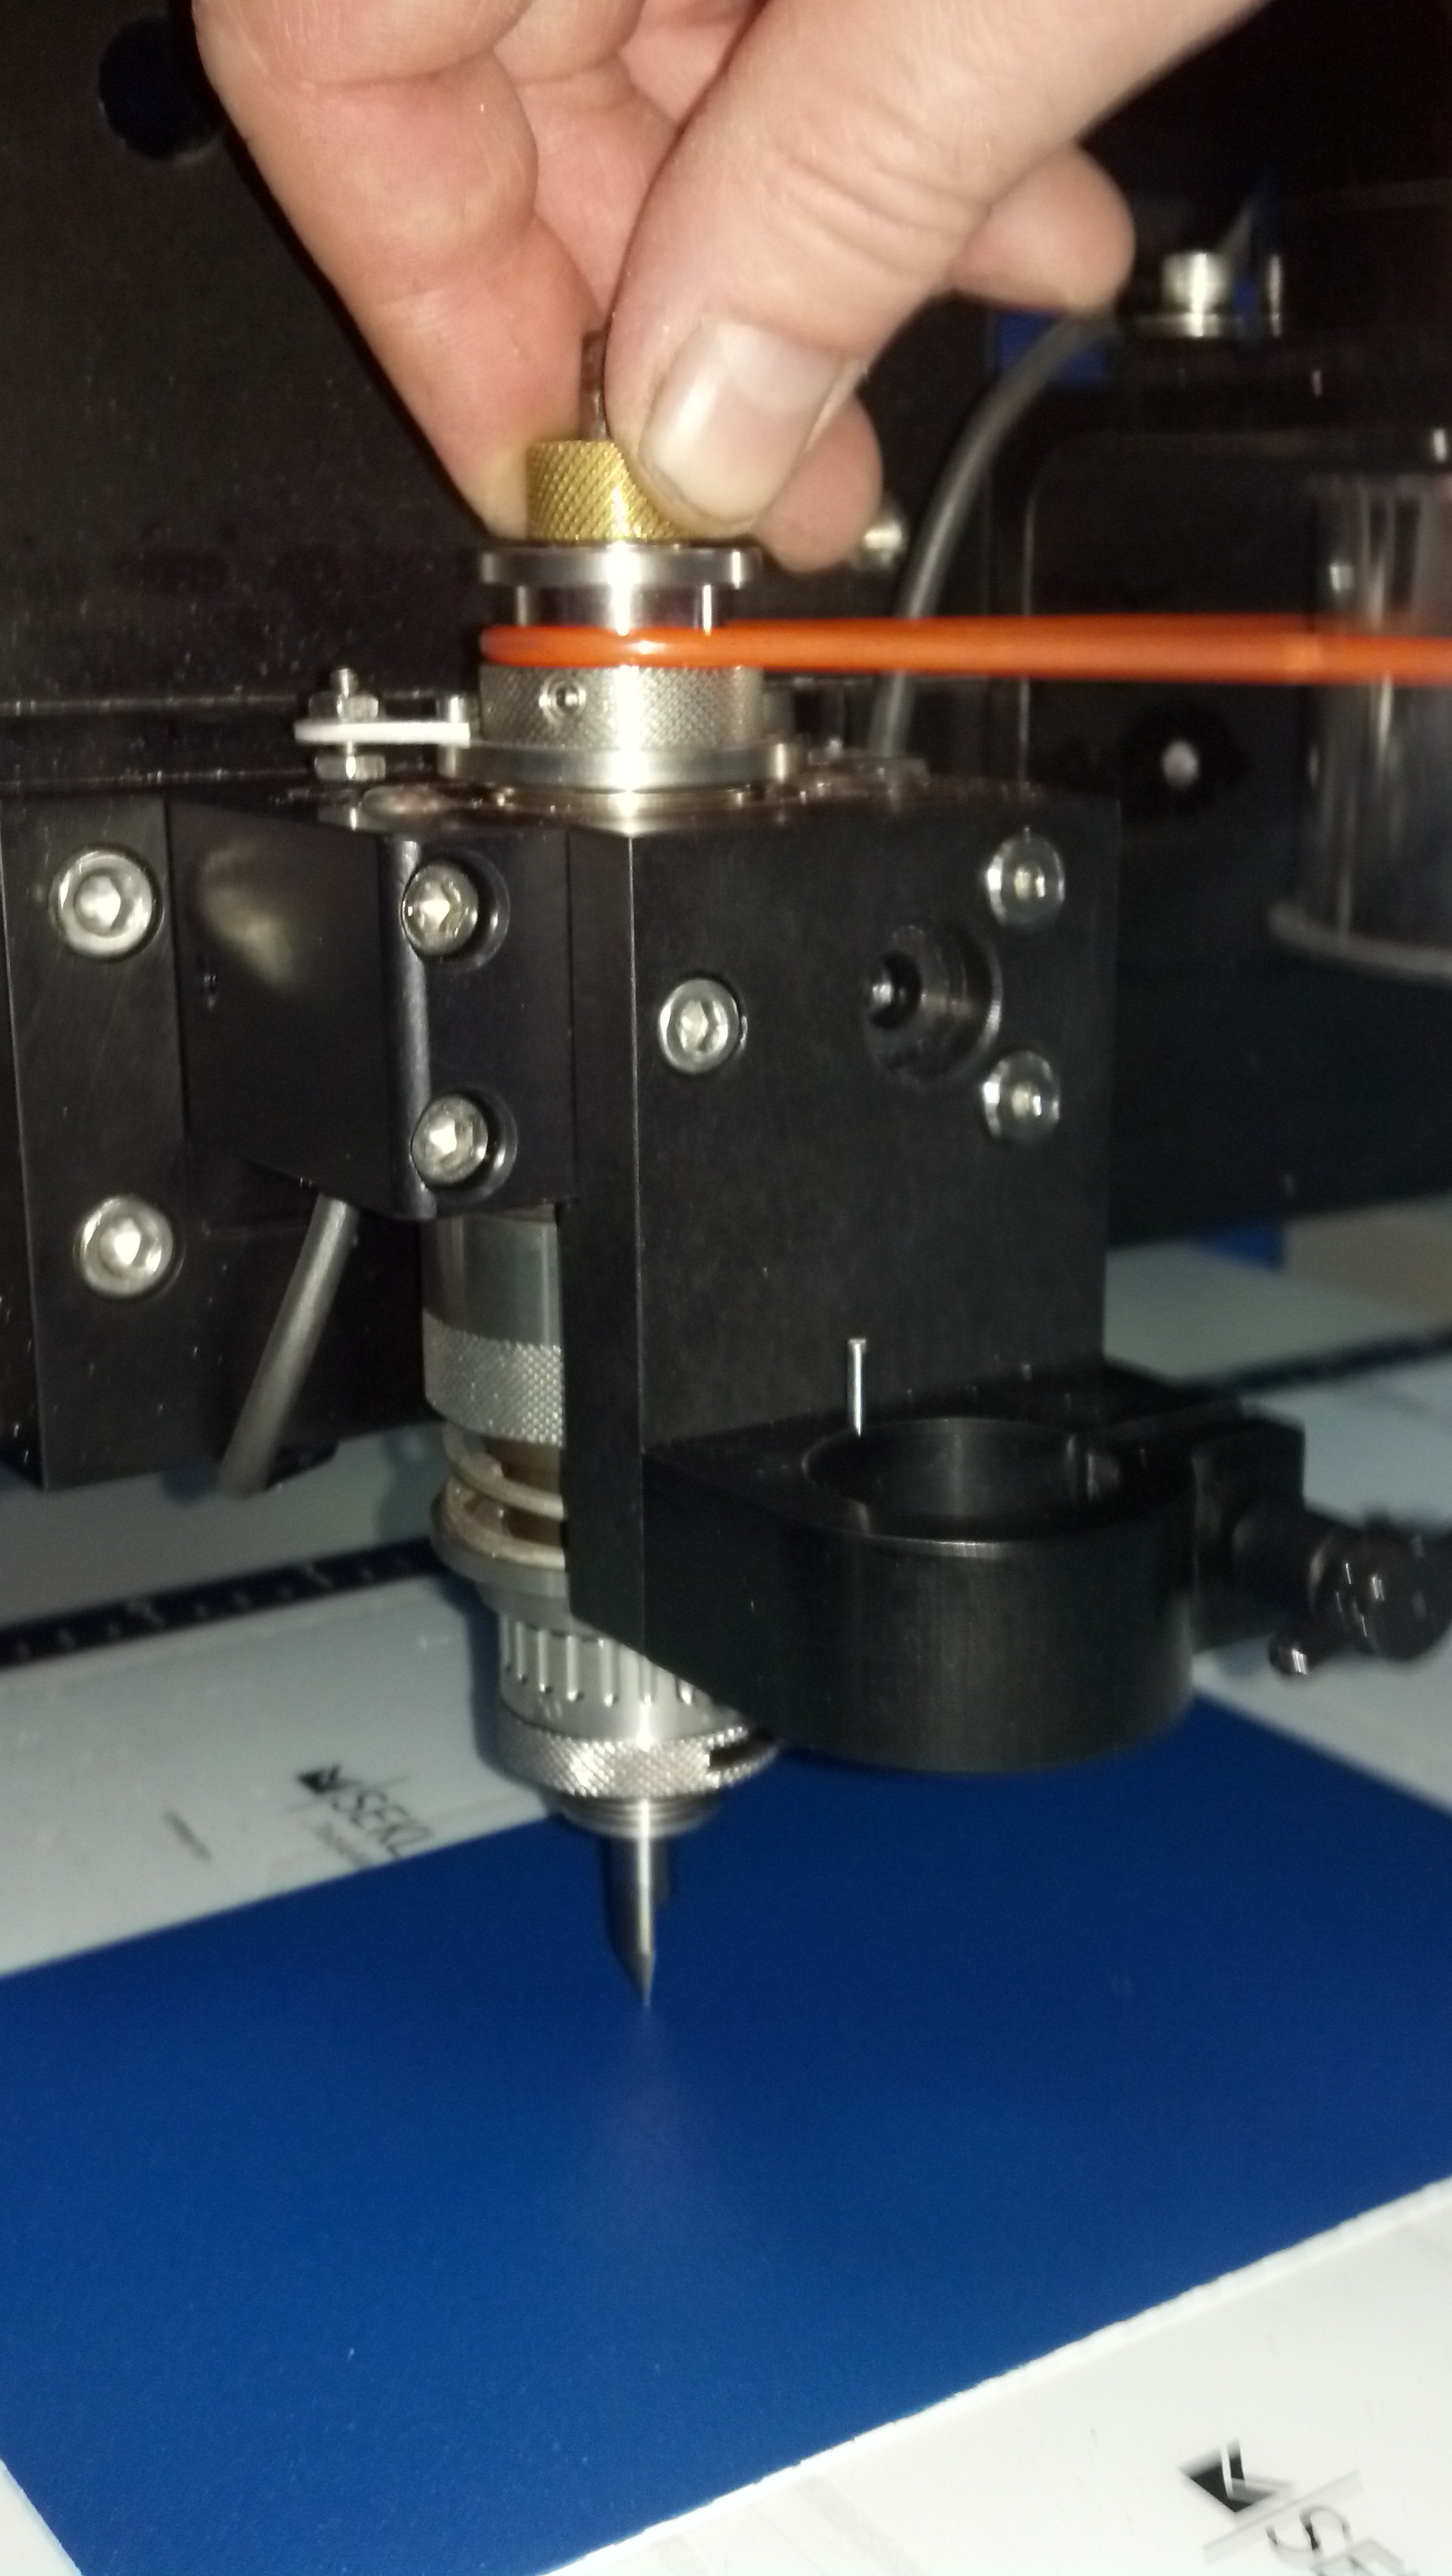
1. Insert a fine tip tool into the spindle and bring the tip of the tool down to the surface of any material. A .005 flex cutter was used in this example:
2. Once the cutter tip has made contact with the material, rotate the cutter by hand as shown:
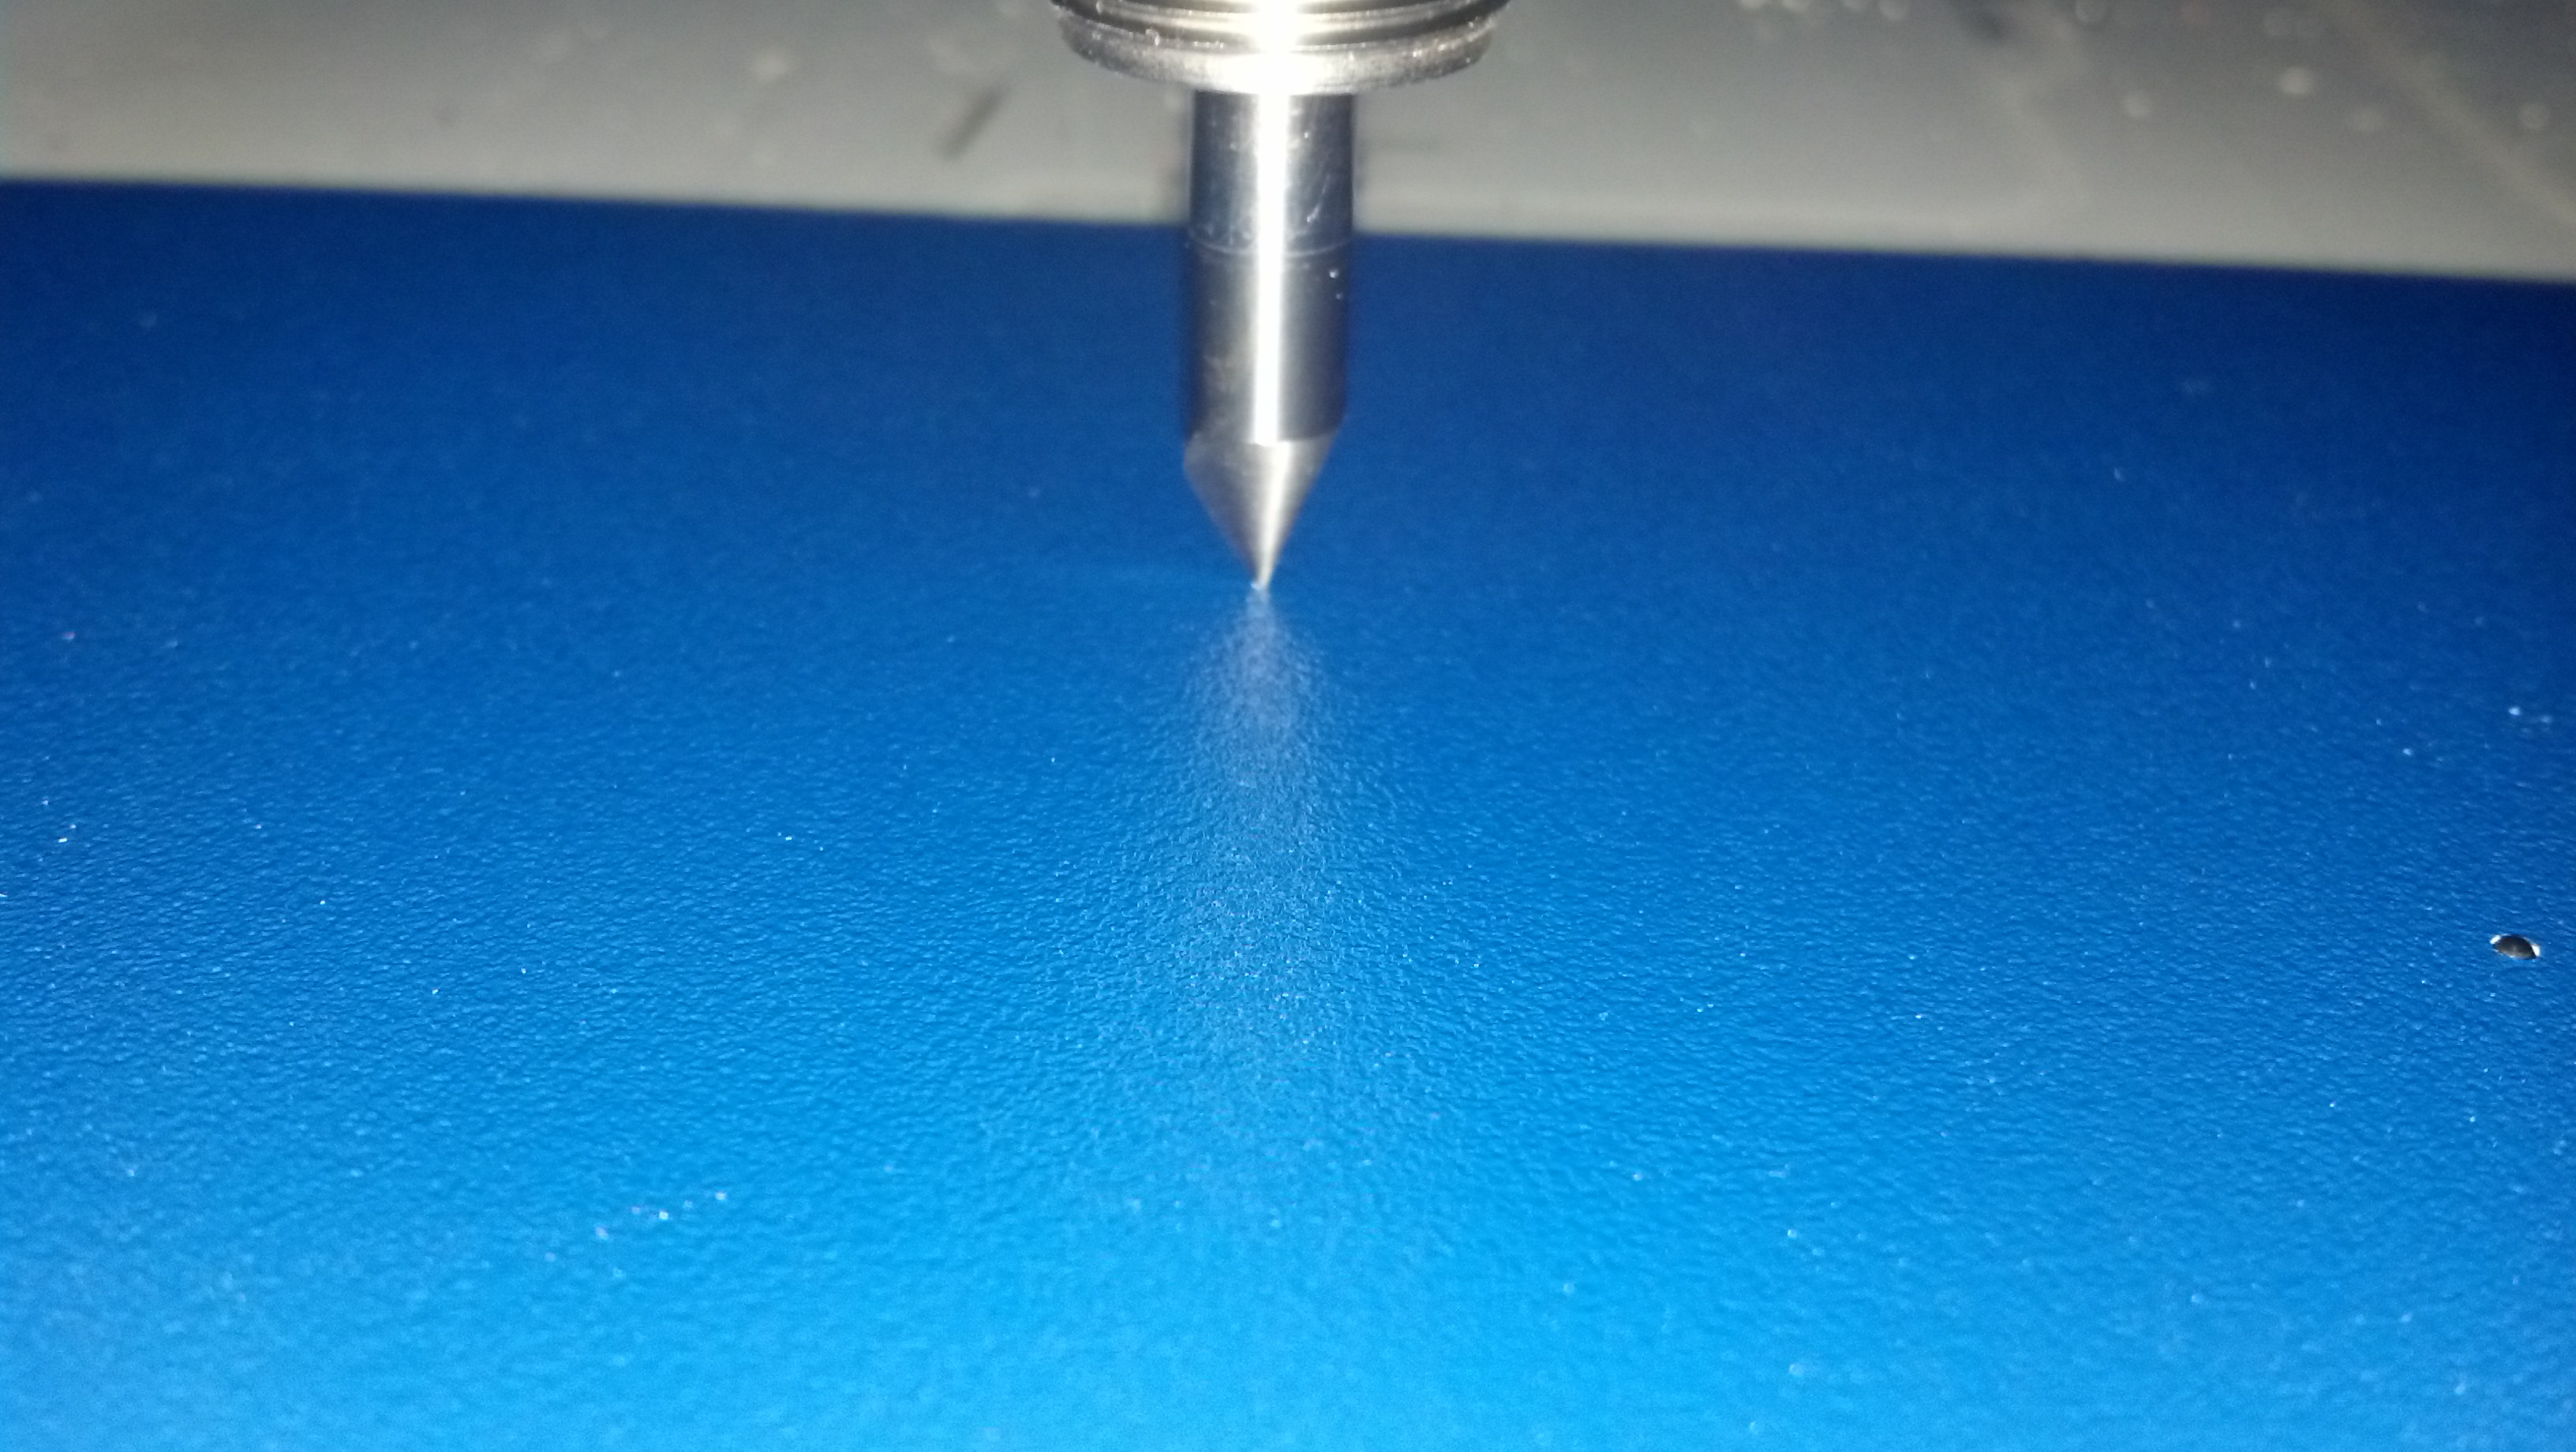
3. Press “Set Home” on the pendant then raise the tool above the surface. You should see a mark as shown below:

4. Turn on the laser pointer by pressing Shift, then Set Surface Button on the pendant, then jog the laser pointer directly over the mark you made in the previous step.

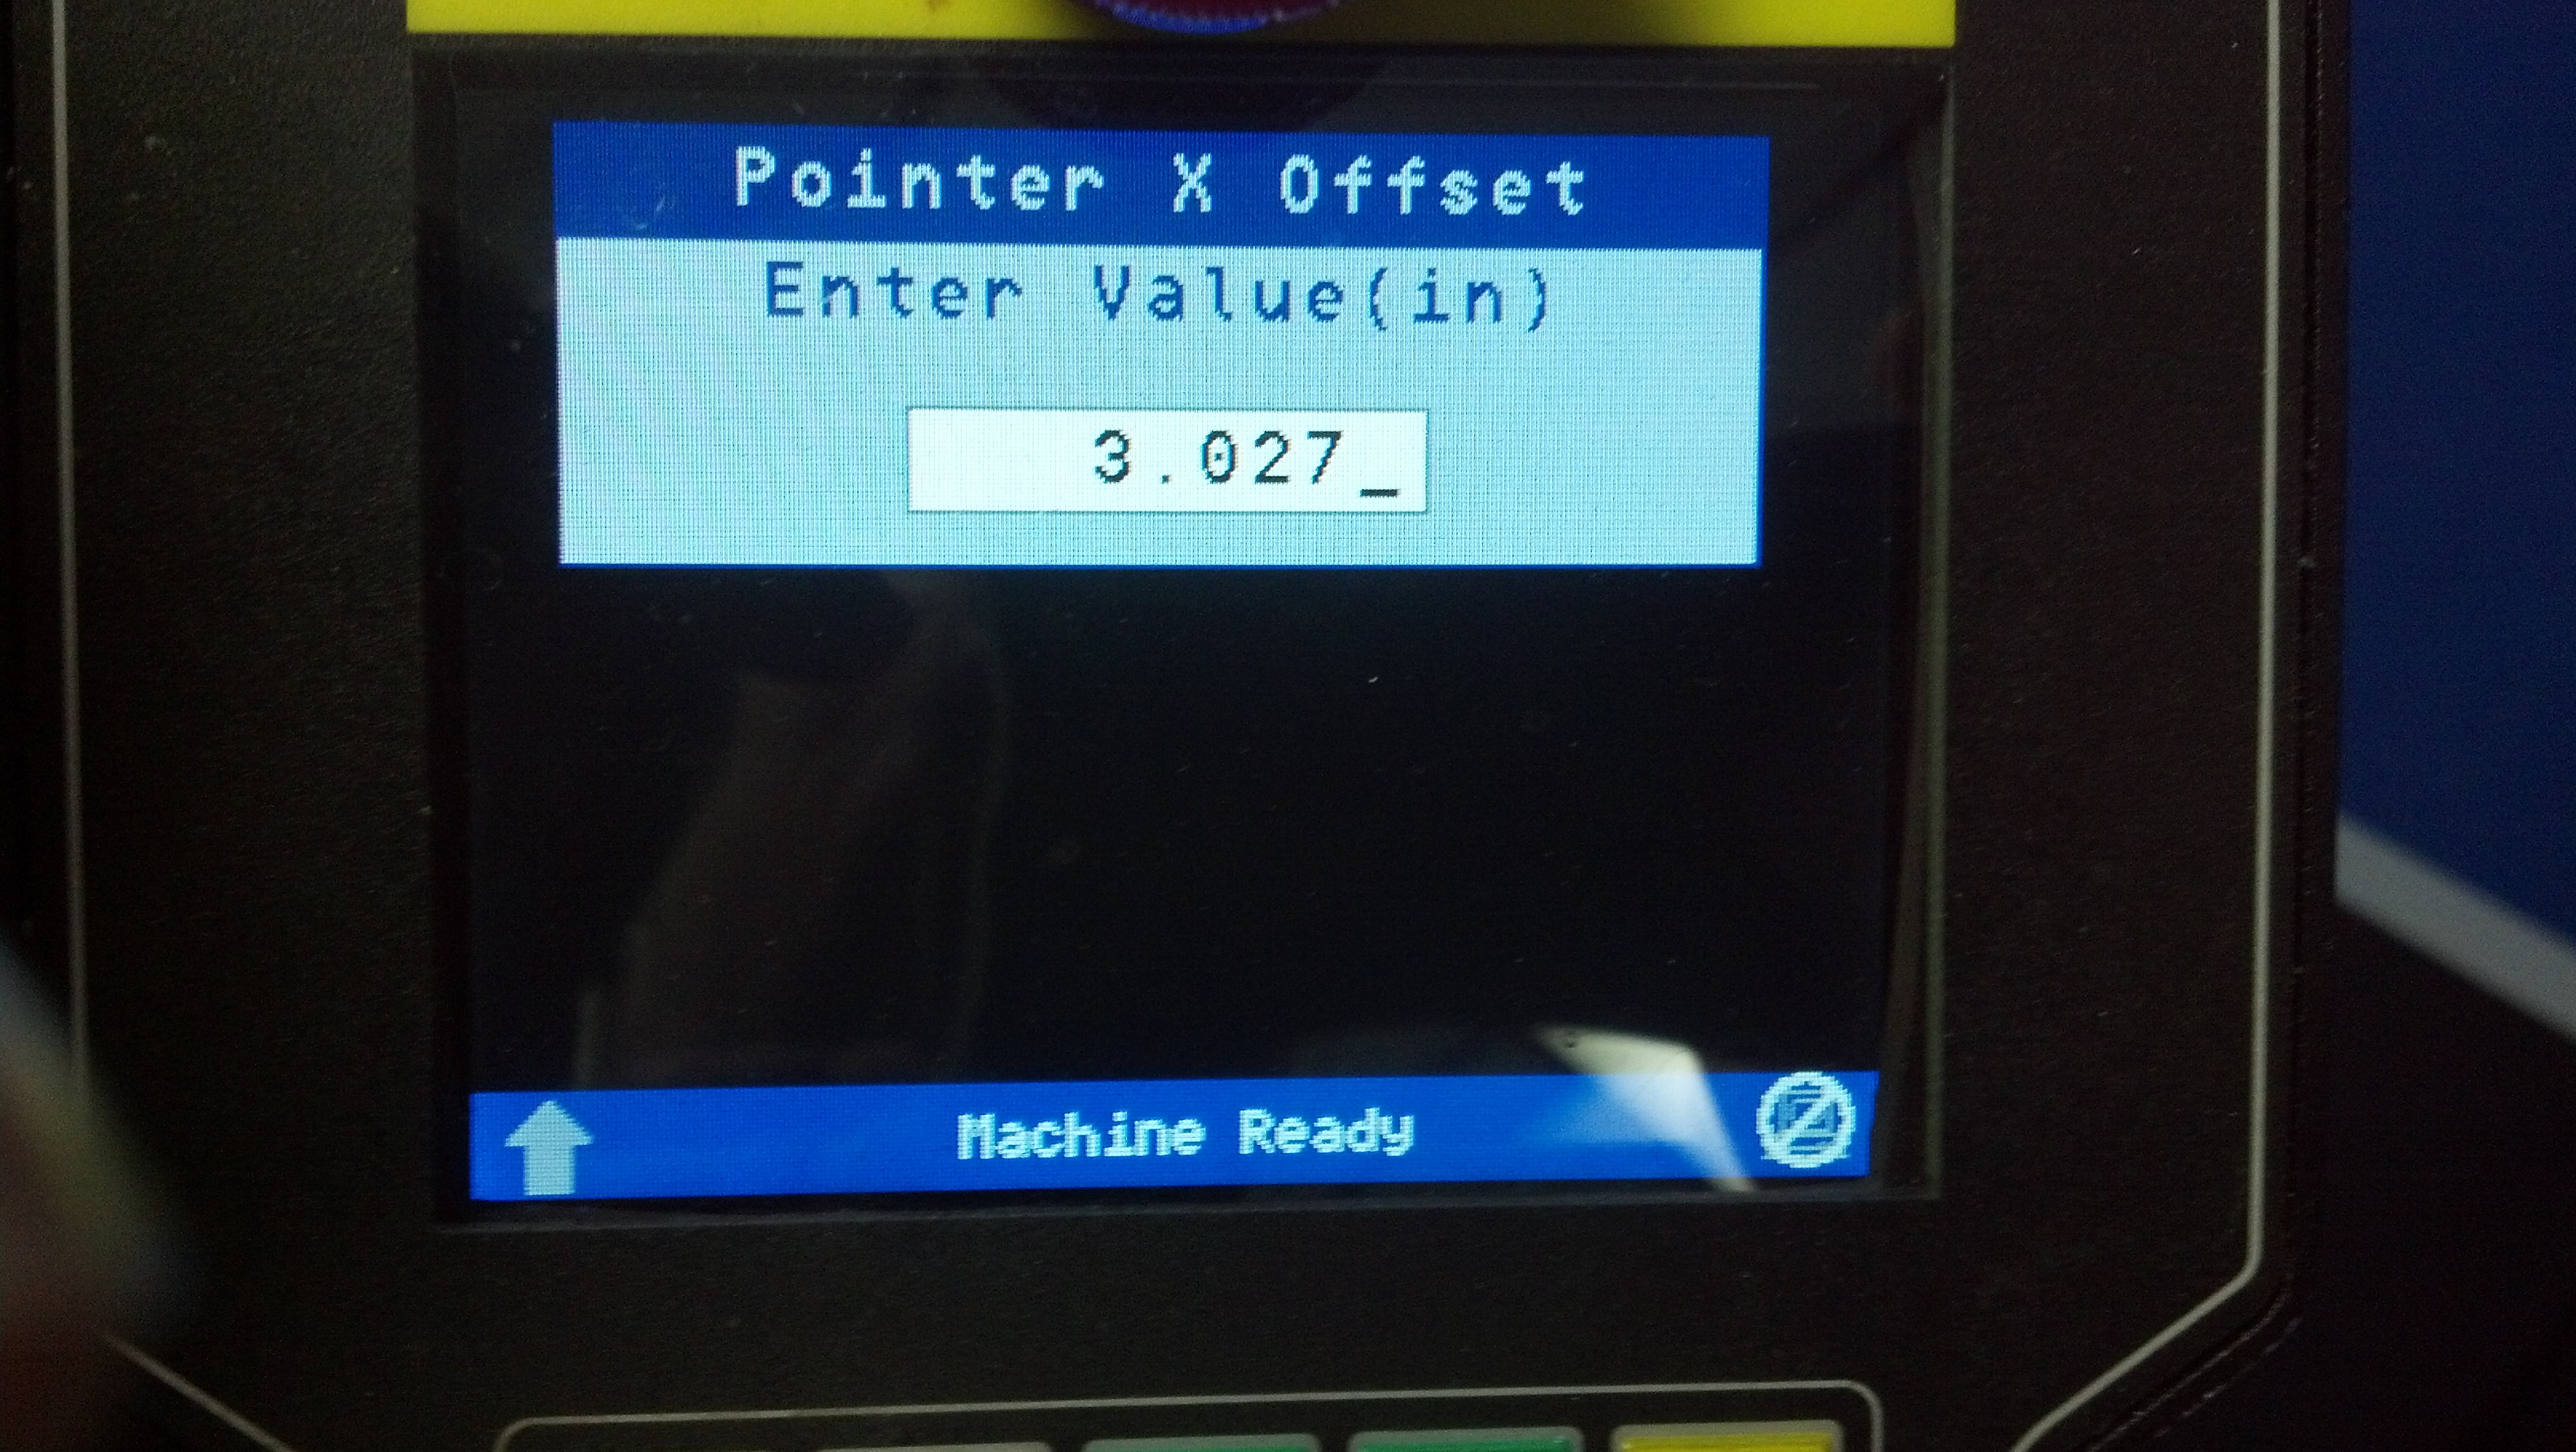
5. On the pendant, you will now see the desired pointer offset:

6. On the pendant, go to Menu, Configuration, Set Pointer Offset. Now enter the desired pointer offsets:

7. Once you enter the values, press “Enter”. The settings are now saved. To return to the main screen on the pendant, press exit two times.