
In the Vision software, when you draw a shape or type text, it comes out as P1 black (once you are out of text mode). At the bottom, there is a variety of color boxes, this is the default palette. Here you can choose and change contour line color.
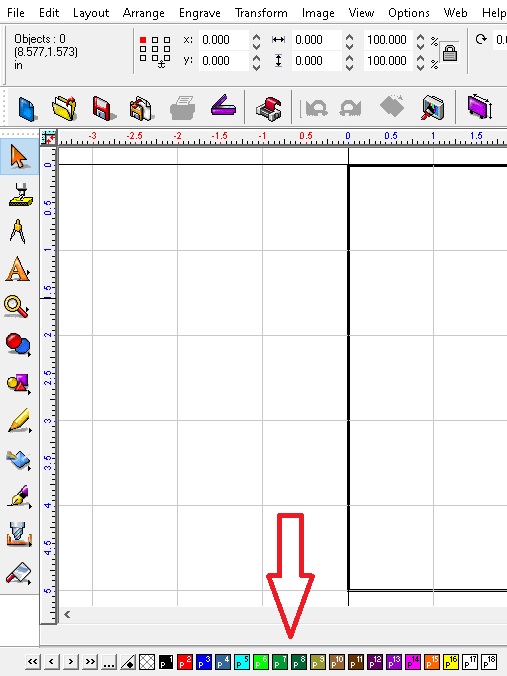
It can be helpful to change the contour lines (shape, text) so you can run Filter by Color (explained in more depth in a different Quick Tip in the archives). In this example, I select the text then go down to the palette colors at the bottom, hover the cursor over P6 green, right click then left click on a color.

Now select the rectangle that is the outline of the tag and go to the P2 red on the palette and right click then left click.
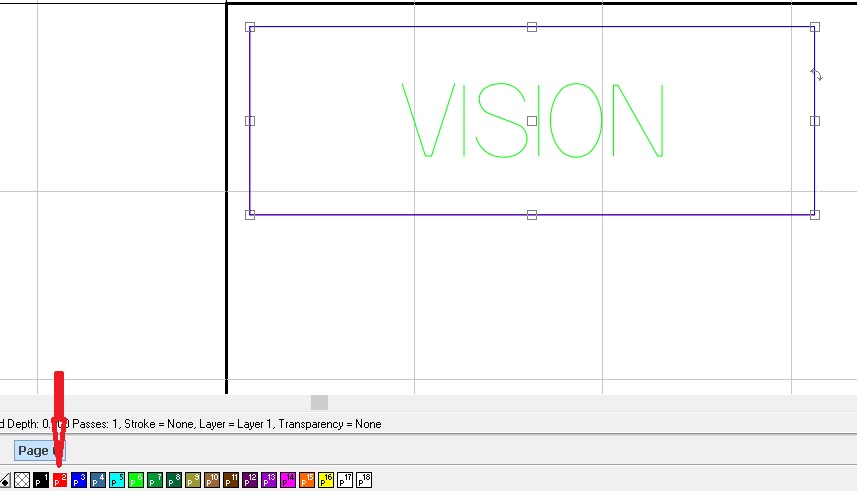
Now with both the rectangle and the text changed, you can run Filter by Color.

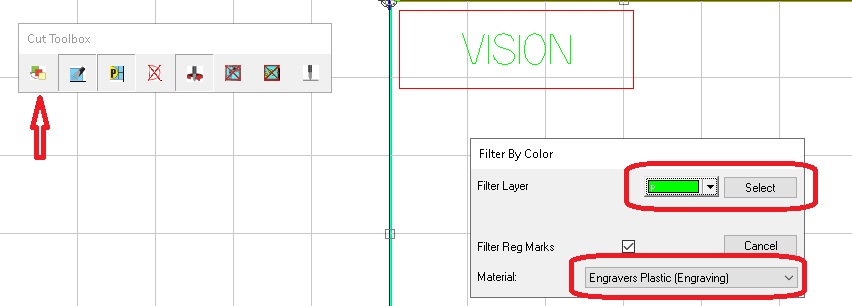
Select the rectangle and text, then click on Engrave Icon on the upper left side, then Filter by Color. Run engraving first and then run the cutout.
Check back next month for more Engraving Quick Tips. Contact Vision Engraving & Routing Systems to learn more about the Changing The Color On Contour Lines, get a price quote, request a free online demo. Visit us online at www.visionengravers.com or call 1-888-637-1737.