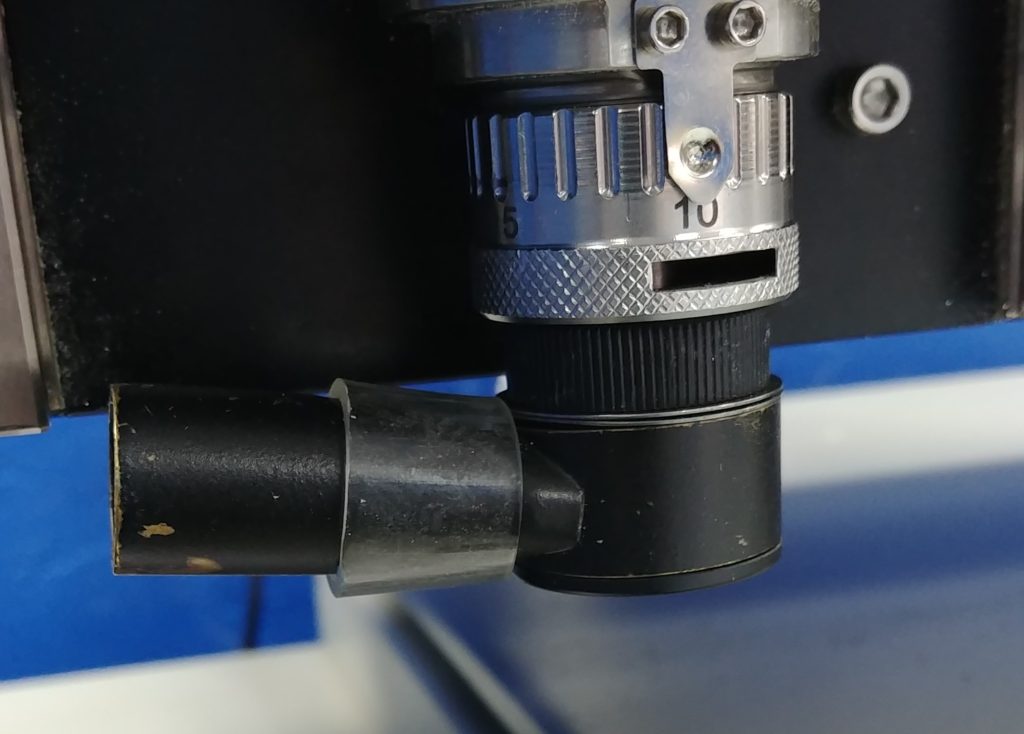
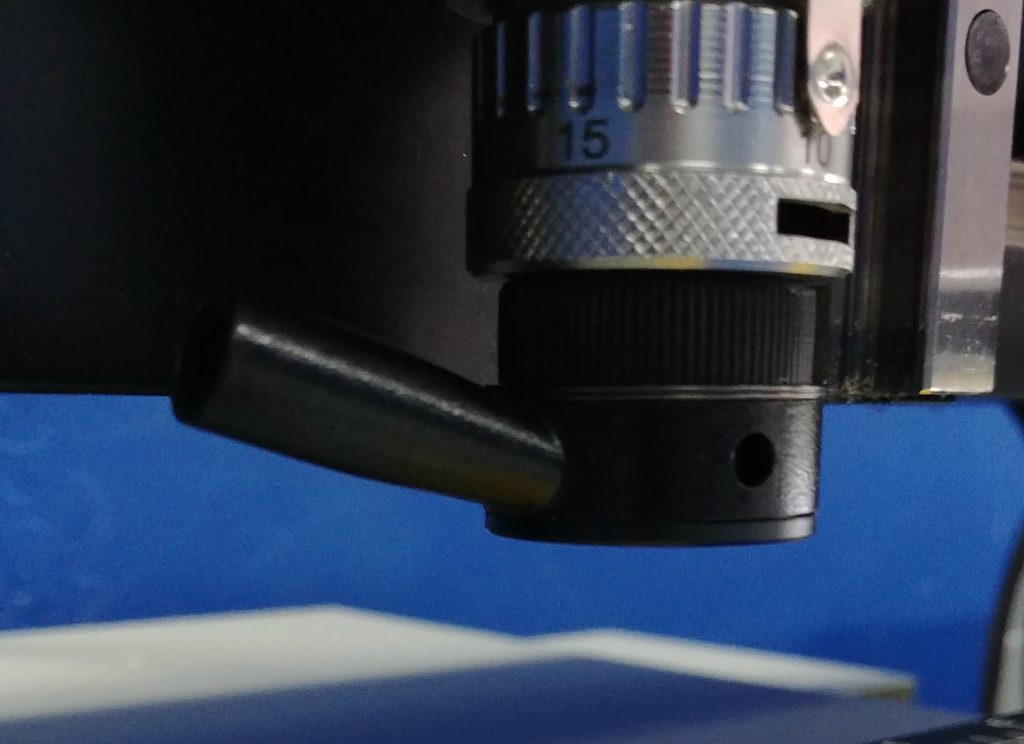
The method below is how to set you cutout tool for cutting out plastic only and not engraving plastic also, you will want to leave the micrometer on the spindle at 0.
- Place the material you will be cutting onto the Multi Mat.
- Place a small second piece of the exact same material on top of the first piece.
- Position the spindle somewhere over this stack of material.
- Jog the Z axis down until the nosecone contacts the top piece of material.
- Move the top piece of material until the nosecone hangs over enough that a cutter can come down thru the nosecone and land on the bottom piece of material.
- Insert a cutter, loosen the cutter knob set screw so you can lower the cutter.
- Lower the cutter until it lands on the bottom piece of material and lock in place.
- The cutter should stick out of the nosecone exactly the thickness of the material to be cut.
- The micrometer will not have to be turned to dial depth with this set up.
- You can now send the spindle to Home and remove the top piece of material.
- You can now cut thru this material without any significant damage to the Multi Mat.
- If the cutter doesn’t make it all the way thru the material, you can dial just a couple clicks to depth on the micrometer (to cut a little deeper) and run the job again.

If you are engraving and cutting out plastic, it is best to set all of your FLX and ACR cutters (Engraving Machine Tool Identification in Quick Tips archive) at Zero. Here is a link to a video of how to zero your cutters: https://www.youtube.com/watch?v=BW3kk_KPsc0
After you have zeroed your engraving cutters rotate the micrometer to the right to 10. Now set your cutout tool so you can go from engraving to cutout simply by changing out the tool in the spindle.
***10 is the standard depth needed to get thru the top cap to expose the base material on most engraver’s plastic. If you are routinely engraving at a different depth then that is where you want to set your cutout tool***
Vision has 3 different vacuum nose cones:


From left to right: High volume nose cone, small nose cone, and large nose cone.
***Periodically check your vac nose cone to make sure it is tight against the micrometer as it can loosen up over time from vibration which will throw off the depth for your cutters***
Check back next month for more Engraving Quick Tips. Contact Vision Engraving & Routing Systems to learn more on how to set a cutout tool for cutting plastic, request a free online demo. Visit us online at www.visionengravers.com or call 1-888-637-1737.
