
When engraving a prescreened tag, there are a couple of ways to set up a template in Vision Software. One way is to measure out everything or use the drawing that was used to print the tag. Another way to set up a template, is by importing a scanned image of the tag into Vision software to make the template for the prescreened tag. This last method is what I’m going to show you how to do.
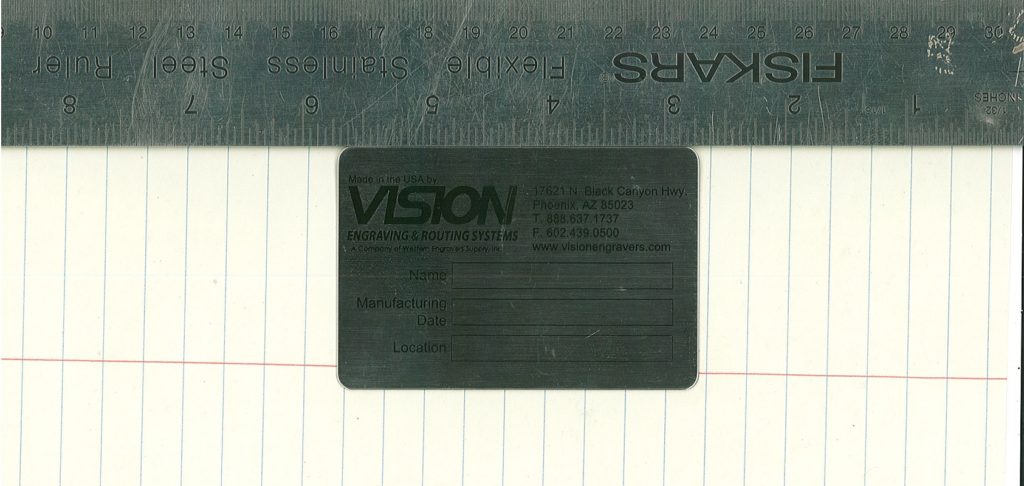
First thing to do is scan the tag on a printer that has a flatbed scanner. Use a flat and straight object like a metal ruler to put up against the edge of the scanner bed. Then push the prescreened tag up against the ruler face down. This ensures the tag is straight and not cutting off the edge of the tag on the scan. If the top edges of the tag are raw (not printed), it is a good idea to have some color contrast around the edges of the tag (colored paper, cardboard, etc.) when you scan it. If you can, boost the DPI setting up higher (like 600) for a better scan.
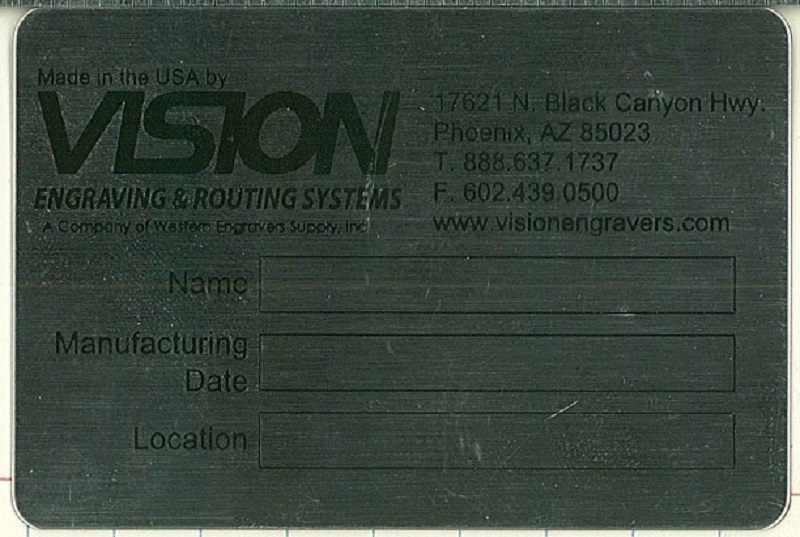
Before importing into Vision software. It’s a good idea to crop it down in Photos or Paint in Windows and save it as a JPG file.
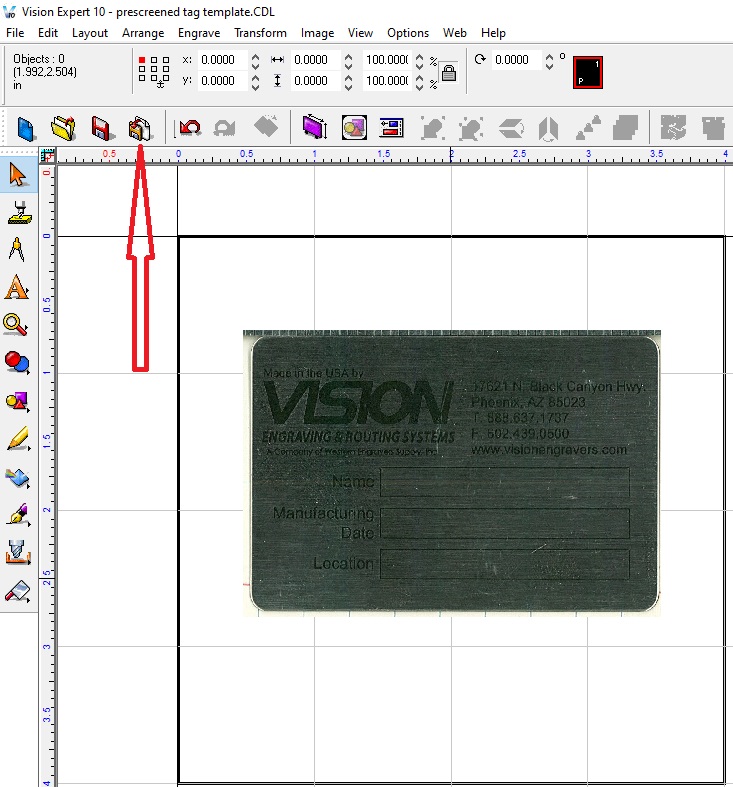
Make your Plate a little bigger than the size of the tag. Left click on the Import Icon (or File at the top left corner and Import) then left click on the screen in the Vision software.
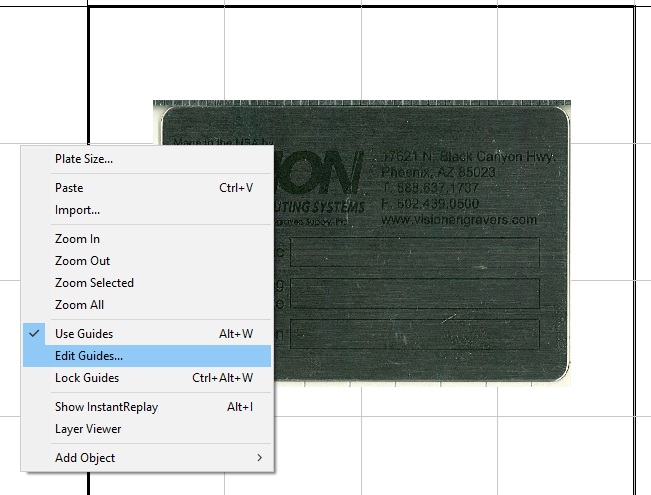
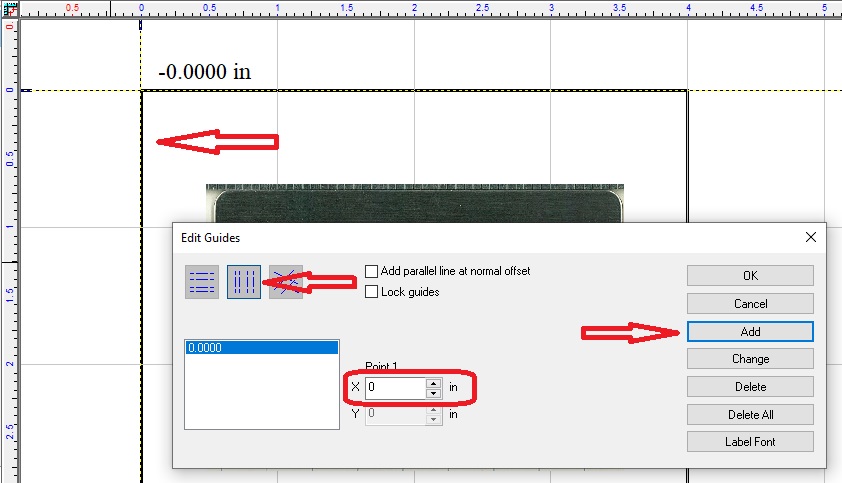
Right click on the screen (not on the tag scan) and left click on Edit Guides.
Left click on the horizontal line box, make sure Y is 0, left click on Add.

Left click on the vertical line box, make sure Y is 0, and left click on Add.
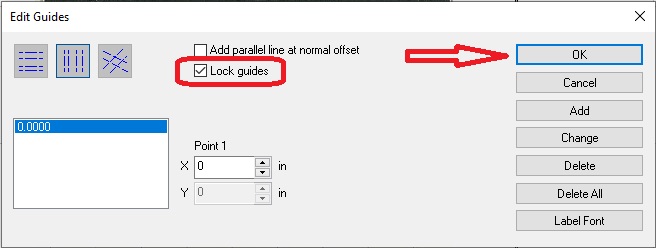
Check mark the Lock guides box and left click on OK.
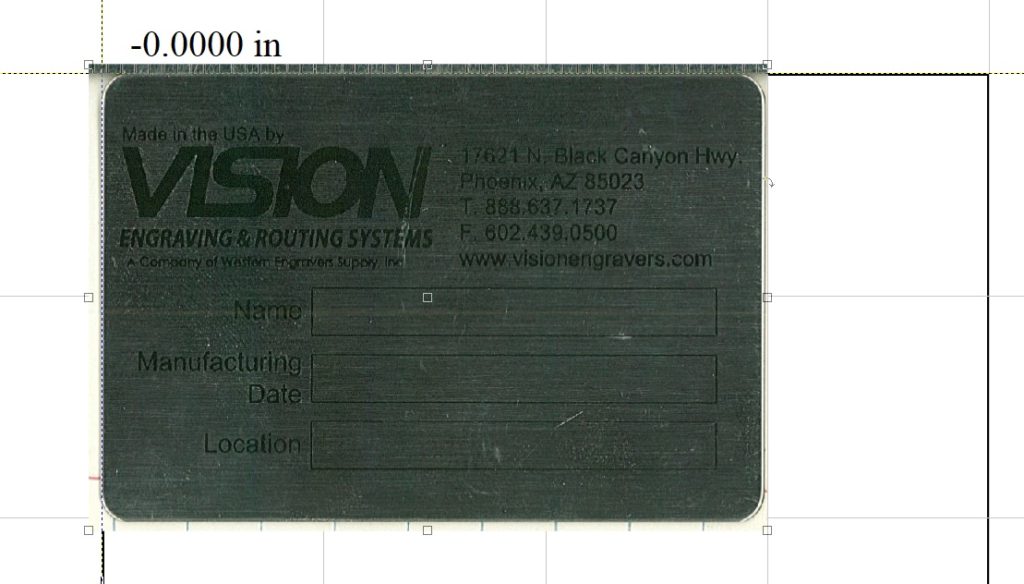
Select the scan and drag the top left corner close to the guide lines. Next use the arrow keys on the keyboard to get the edge of the tag up to the guidelines.
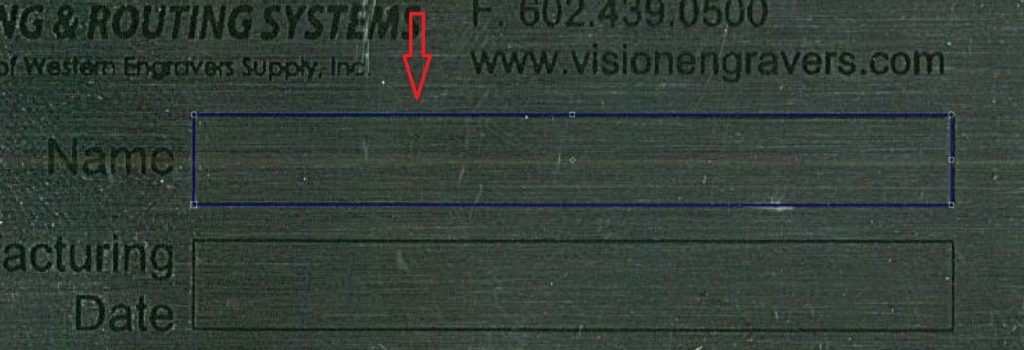
Left click on the Shape Tools, select the rectangle and draw out the rectangle over the box or area that you are going to put text.
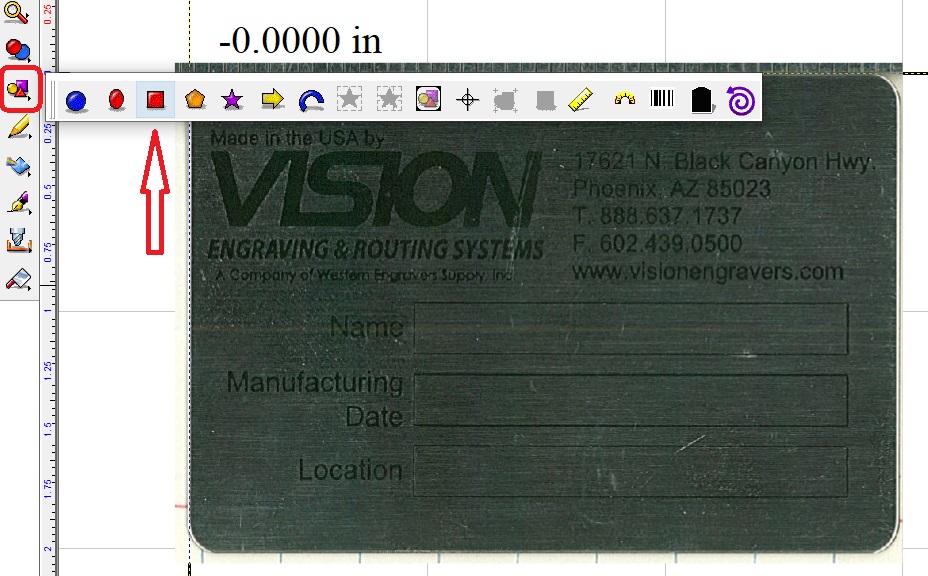
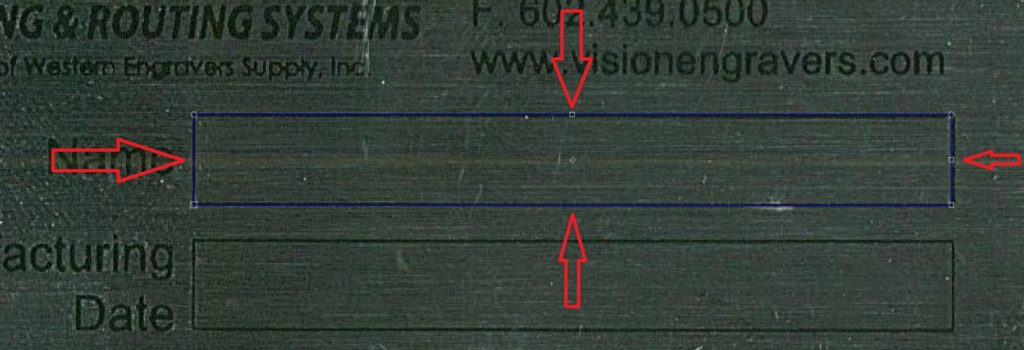
With the rectangle still selected, drag out the edges by holding down the left mouse button. You will want to drag it to the size you need. You can use the keyboard arrow buttons to fine tune the position of the rectangle. Change the color of the rectangle so it is easier to see on the scanned image. This is covered in a previous Quick Tip “Change Contour Color Line”.
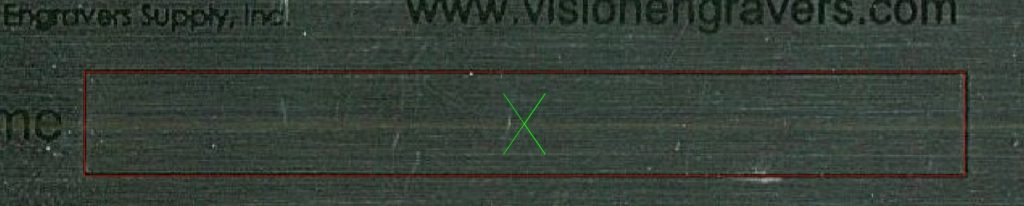
Left click on Text Tools (left side Icon row) and select the first A (Frame Text Compose) set up your font, font height, kerning, and margins. This is covered in previous Quick tips “Vision 10 Frame Text Compose” and “Vision Frame Text Margins”. It is a good idea to have at least a small margin for the text as printing on the prescreened tags can be slightly off through a batch. It is also a good idea to change the text color to something you can see easily.
Select just 1 box that your text is in and send it over to the machine. Run it with the laser pointer to see if it lines up with the tag on the engraving machine table. Watch the laser closely on the tag to see if you have to move the tag template. Run the laser pointer as many times as you need to. If you have to move the tag scan in the software template. Make sure you select the scan image and everything on it, use the keyboard arrows to move it. The closer you zoom in on the image, the smaller the increments it will move when using the arrow keys. Send over the rectangle again to the machine and run the laser pointer, continue to do this till it is lined up.
Using a practice tag, send over the text to the machine, run it, and see how it looks. With the NRD tool and a Sharpie, you can use the same tag by coloring over what was engraved .
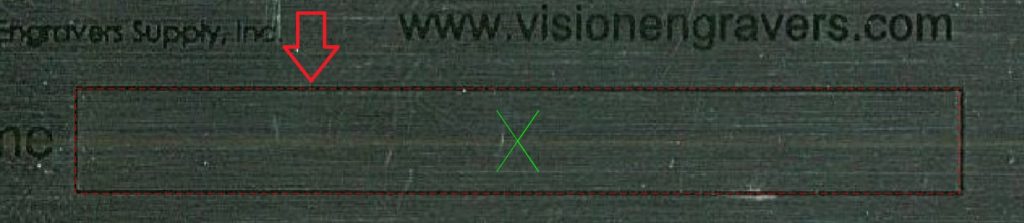
Once you have lined everything up, disable the scanned image of the prescreened tag. (previous Quick Tip “How to Disable a Scan” and disable the rectangles used for the text (previous Quick Tip “Disable a Color in Vision Engraving Software” so that the only thing that can be selected and changed is the text.
Check back next month for more Engraving Quick Tips. Contact Vision Engraving & Routing Systems to learn more on how to Use a Scanned Image for a Prescreened Tag Template, request a free online demo. Visit us online at www.visionengravers.com or call 1-888-637-1737.