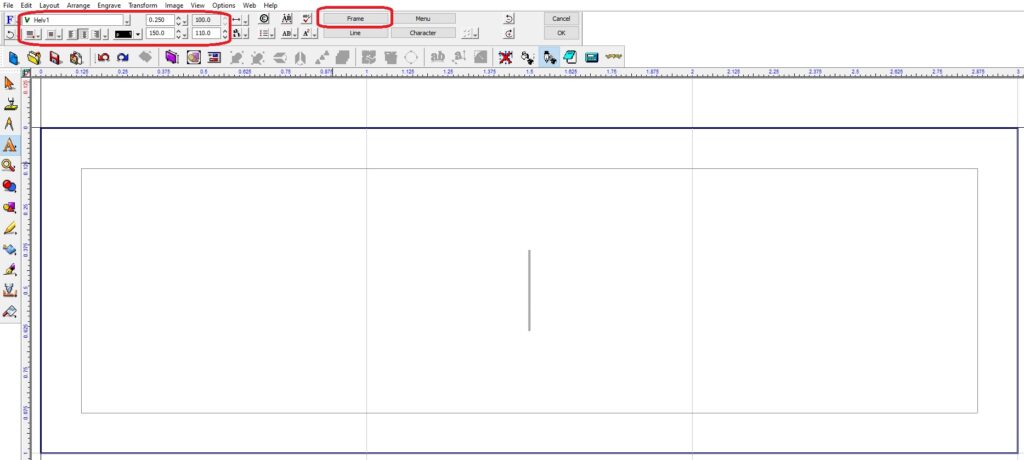
To start building a tag template for tags/ signs precut or cut on the machine in Vision’s engraving software, you must first specify the plate size. Make the plate size the same as the tag you’re engraving. For this example, the plate size will be a 1″ x 3″ tag. These instructions can also be used to make a sign template.

Use Frame Text Compose and add in your text (there is a Quick Tip on Frame Text Compose and Frame Text Margins). Typically, you will use a single-line font. The cutter size will determine the width of your character’s stroke.


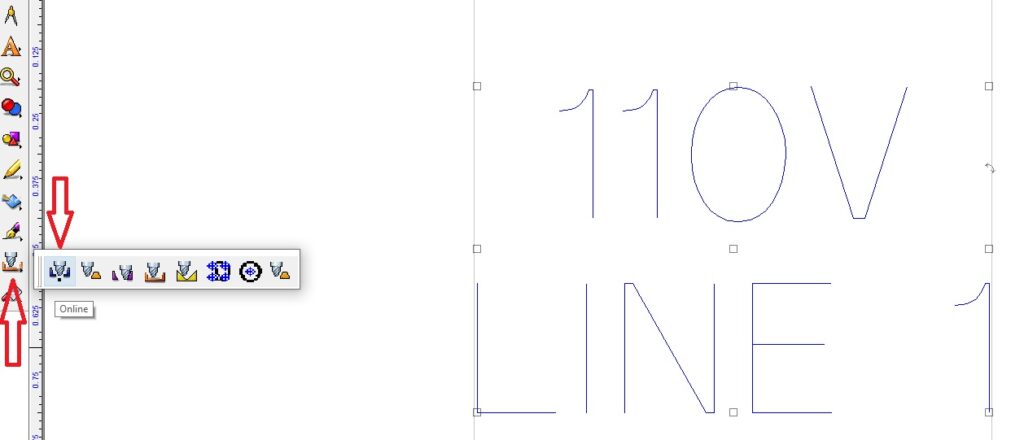
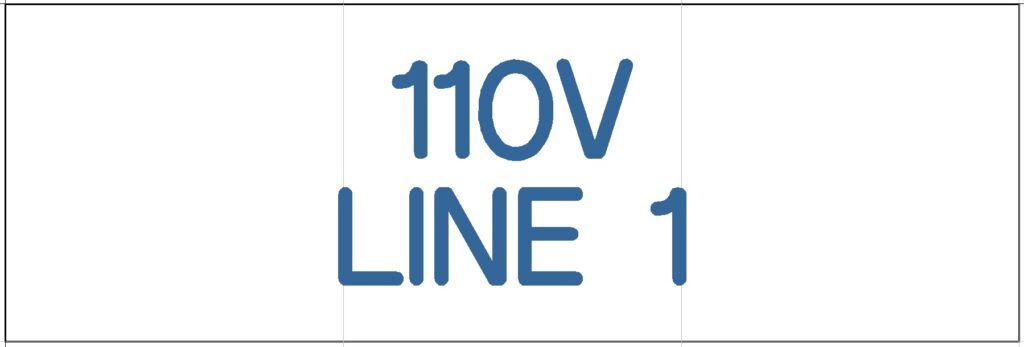
Next, apply a tool path to the added text (make sure Line Style is on so it shows what the engraving will actually look like before running it (there is a Quick Tip on Line Style) which is where you can figure out what size tool to use.


After building your tag template and choosing the cutter size, it’s a good idea to note the tool you used. Use Text Tools on the left icon bar to create a note. Left-click on Text Compose, go to the left of the Plate, left-click and type out any notes. Because the note is outside the Plate, you won’t send it over to the machine and accidentally engrave it.


When done creating and saving your tag template, you can use it to cut Multiples. Use it to engraver precut tags or tags that are being cut out on the engraving machine.

There are articles in The Quick Tips archives about multiples (Multiples and Serialization, Multiples Using Score Lines, How to Add an Excel File to Multiples).
Check back next month for more Engraving Quick Tips. Contact Vision Engraving & Routing Systems to learn about How To Build A Tag Template in Vision Engraving Software and making custom tags or to request a free online engraving demo. Visit us online today at www.visionengravers.com or call 1-888-637-1737.
